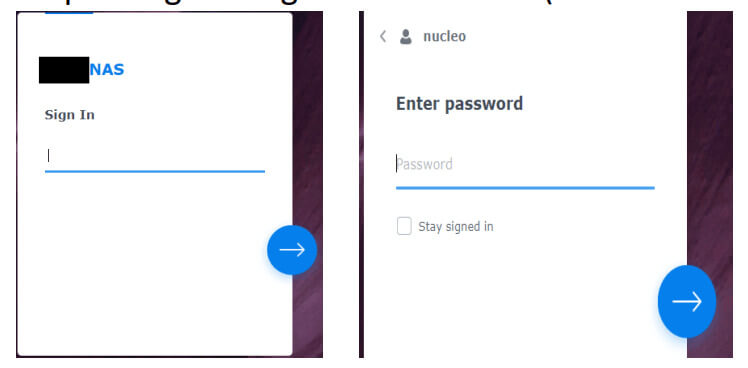
Access Using Quickconnect
1. Open the browser and enter the quickconnect link provided or the ip address (when you are in the office)

2. Login using the credentials (username and password).
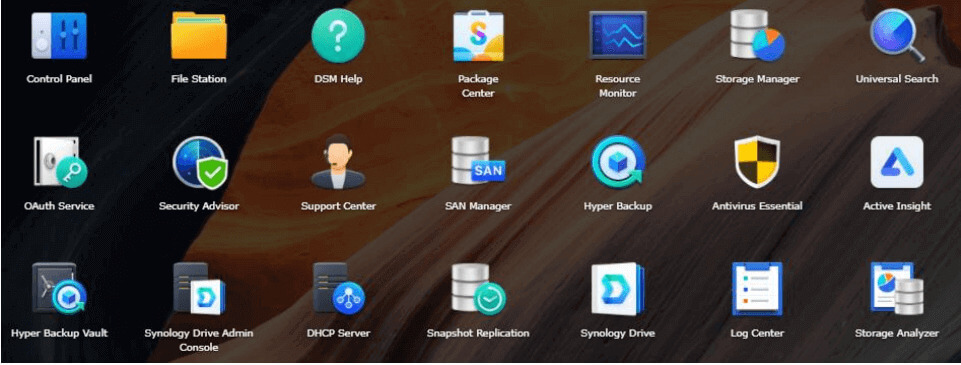
Dashboard View of the User
When an admin user is logged in, they will be able to see the screen as shown below:

Dashboard & Control Panel View
1. Click the main menu to go to the dashboard.

2. Click “Control Panel” on the dashboard or the main menu.
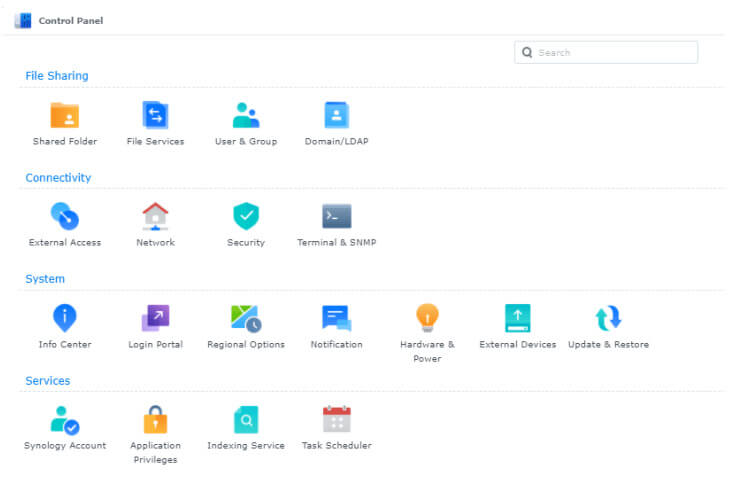
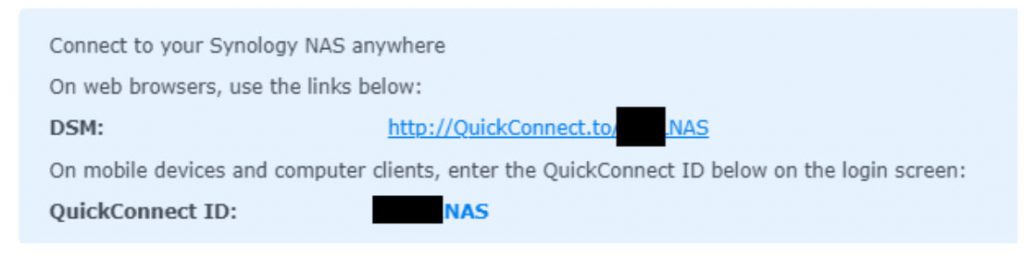
Find Quickconnect Link & ID
1. Navigate to Control Panel.
2. Go to External Access.
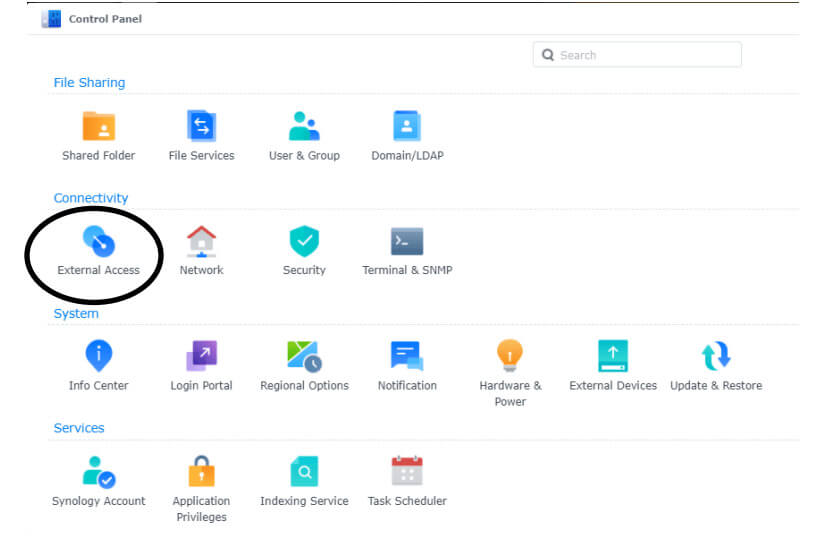
3. Over here, you can get the quick connect ID and the link.
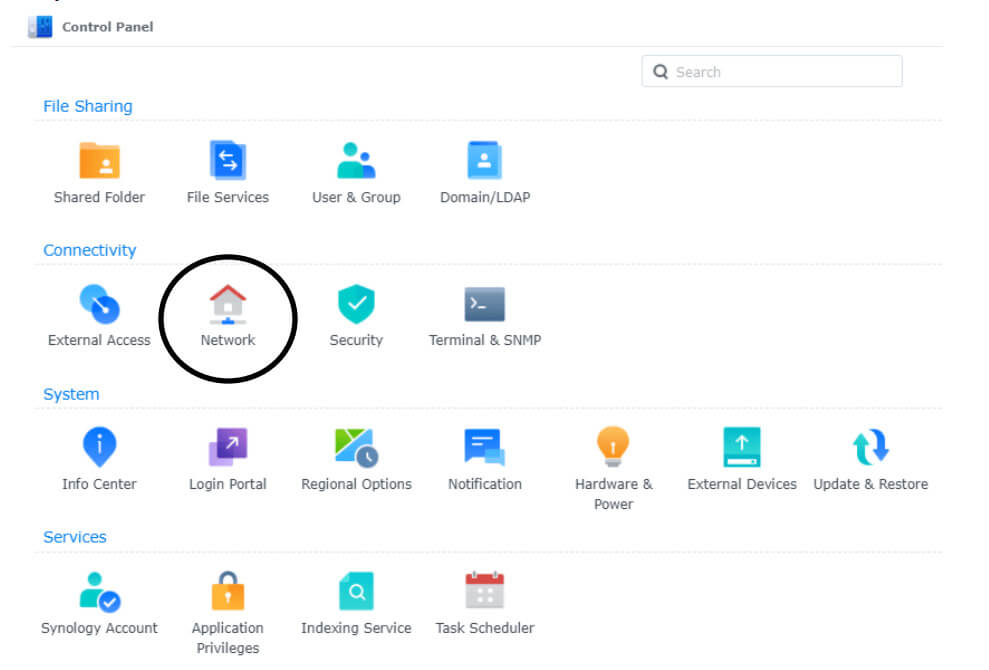
Network Settings
1. Go to Network.
2. Go to “Network Interface”.
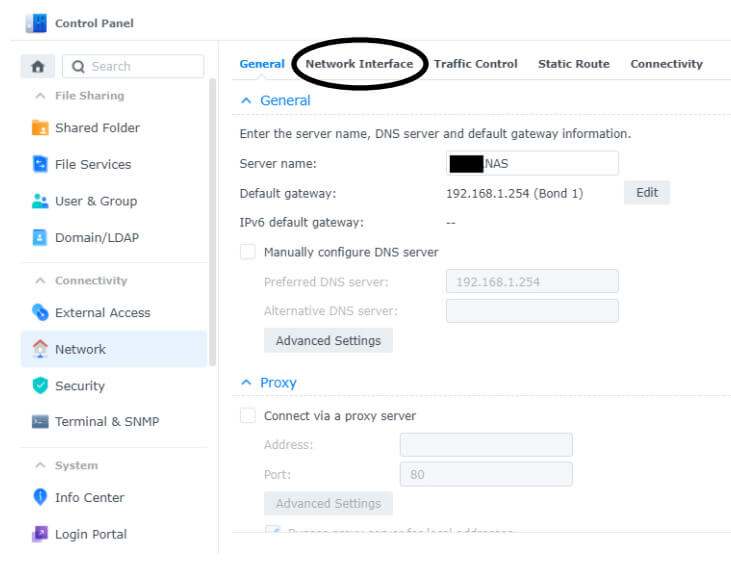
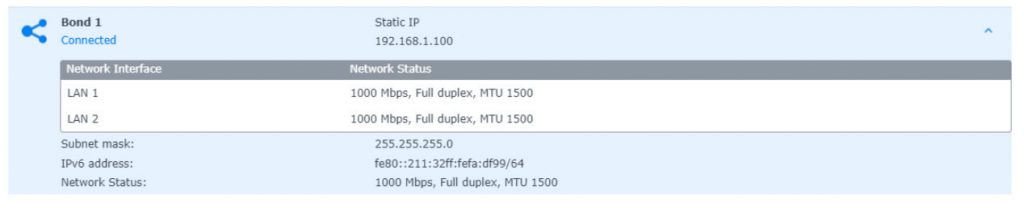
3. Click on the arrow to display more information.

4. The IP address and other network information can be found over here.
Creating Shared Folder
1. Navigate to Control Panel.
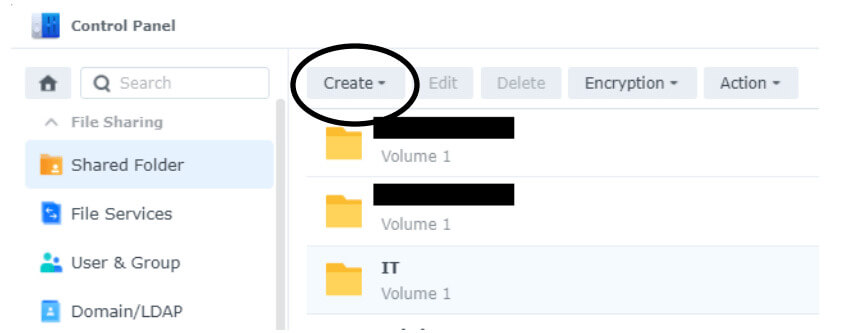
2. Go to Shared Folder.
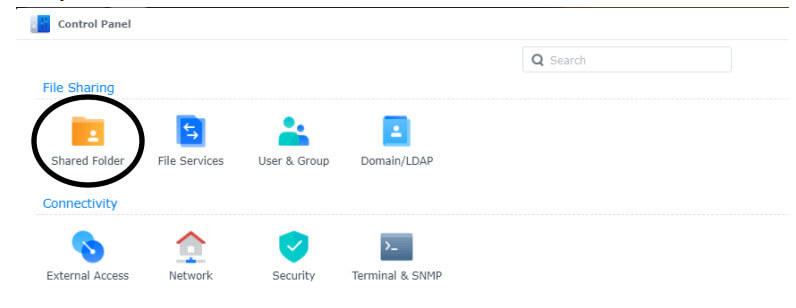
3. Click on “Create”.
4. Fill in the name & make sure “restrict access to admin” is checked.
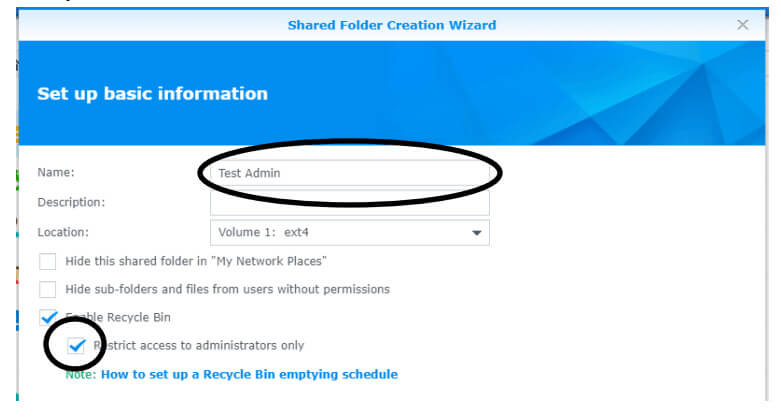
For permission settings, please refer to “Permissions”.
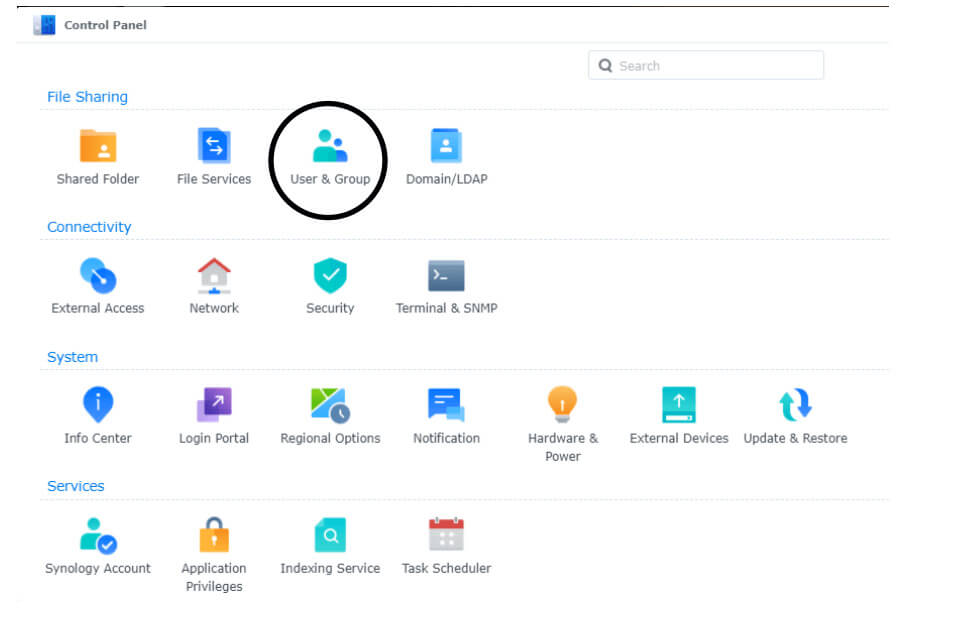
Creating Group
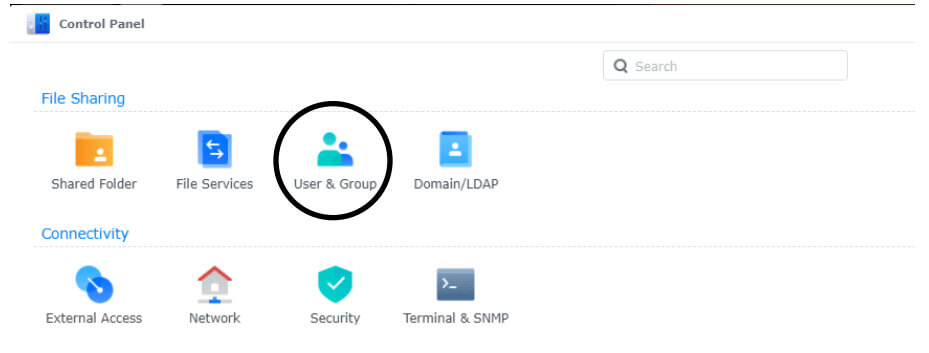
1. Go to User & Group.
2. Click on “Create”.
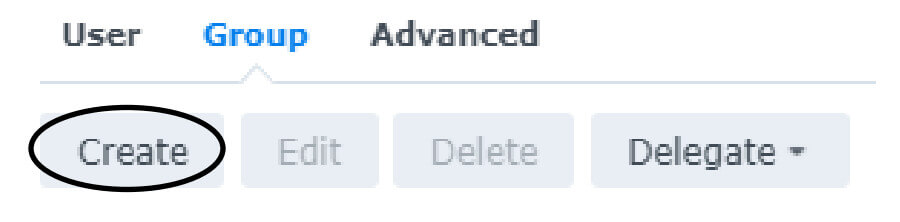
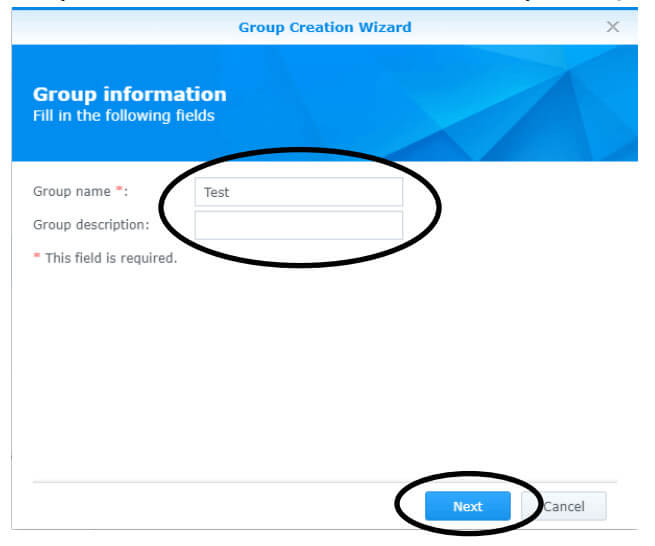
3. Enter the name and description (if any) and click “Next”.
Creating User
1. Go to User & Group.
2. Go to “Create”.
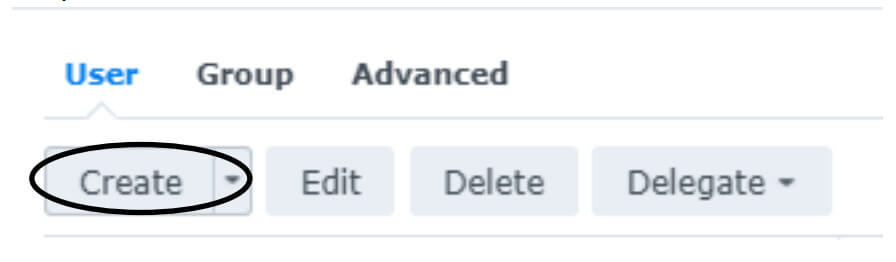
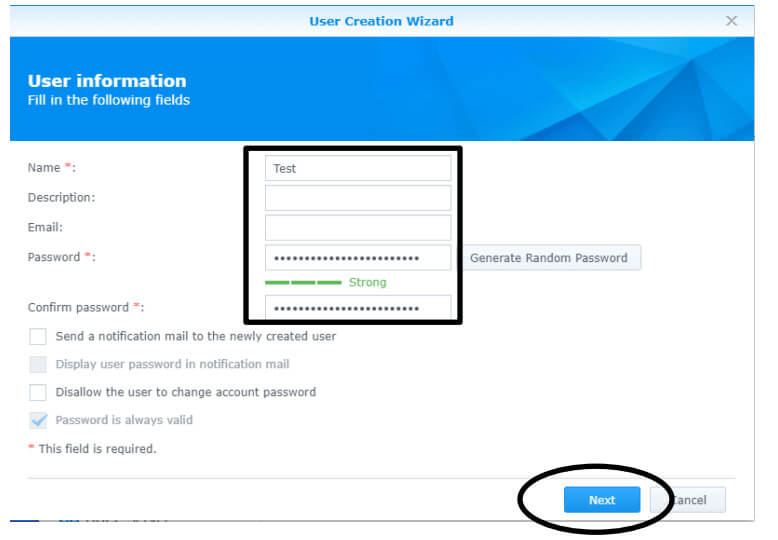
3. Enter the name, description (if any), email (if any) password and confirmed password and click “Next”
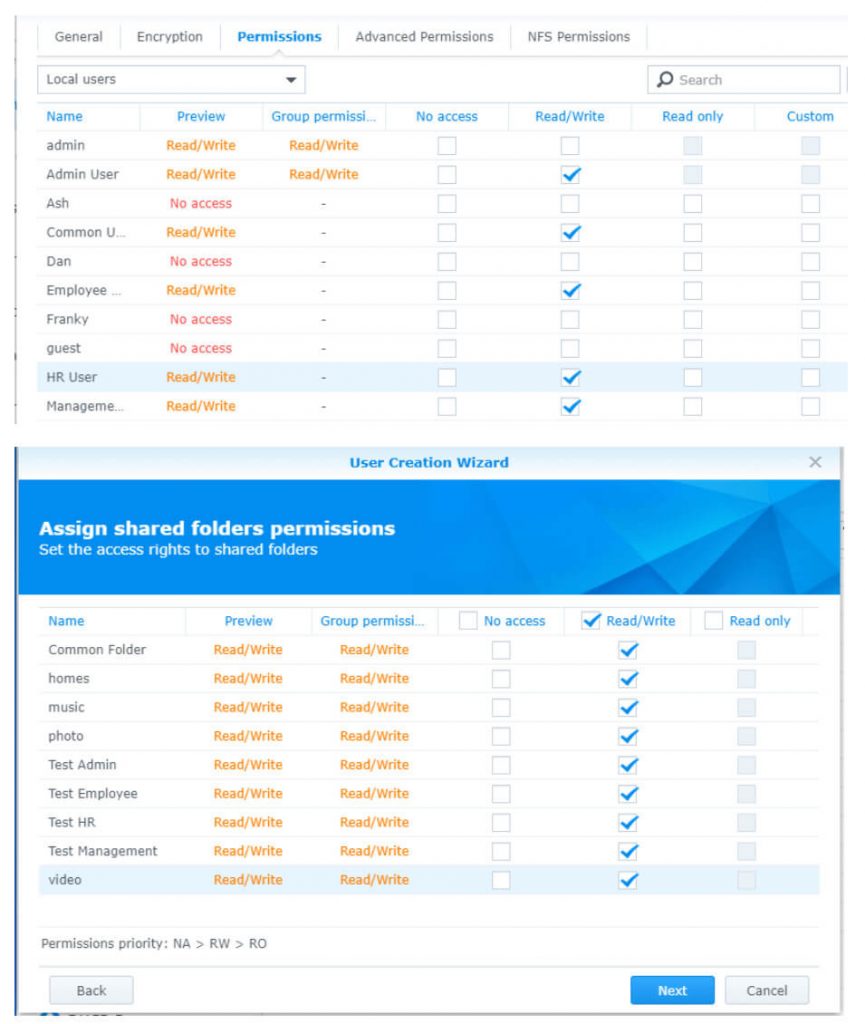
Permissions
1. Create a shared folder/group/user
2. Assign it to set the specific permission to the group or folder
E.g. HR can only access HR folder, Management can see management and common folder
Onsite Backup Settings
Disclaimer: Please do not do anything to the Nucloud settings. It is required for us to configure the settings if something goes wrong. A chargeable fee will be implied if the settings is changed.
*PLEASE REMEMBER TO CHECK THE BACKUP JOB WHENEVER A NEW SHARED FOLDER IS CREATED. THIS IS TO ENSURE THAT THE BACKUP JOB INCLUDES THE NEW FOLDER THAT IS NEWLY CREATED.
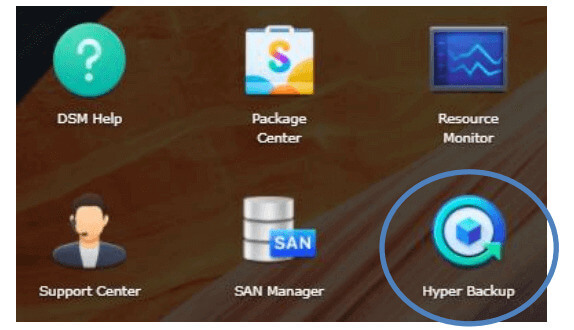
1. Go to Hyper Backup
2. Click on “Local Folder and USB” and click “Next”

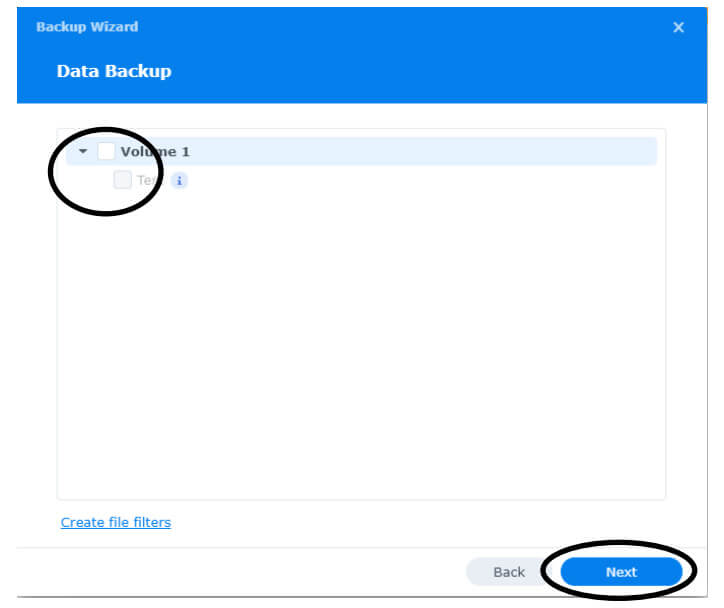
3. Select the folder to backup and click “Next.
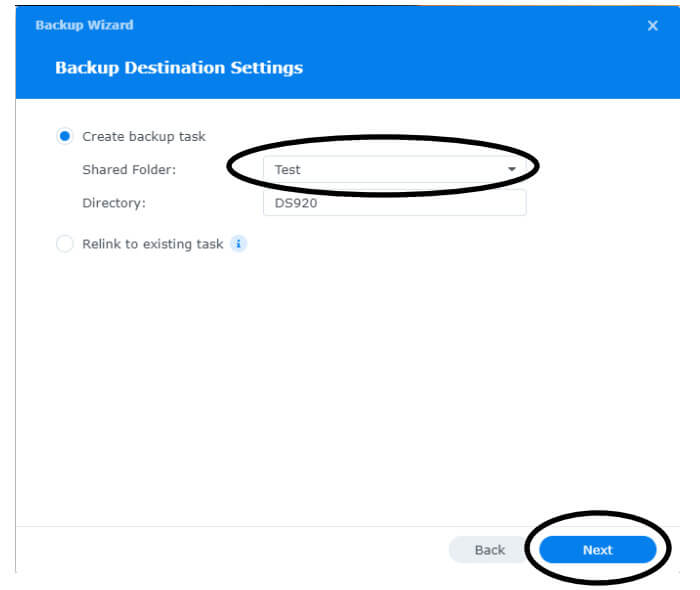
4. Select the destination of the backup and click “Next”.
5. Click “Next” again.
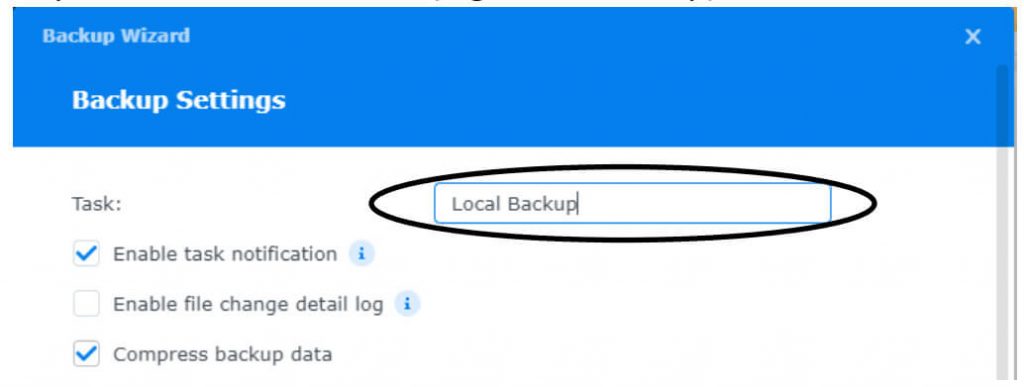
6. Enter the task name
(E.g. Local Backup)
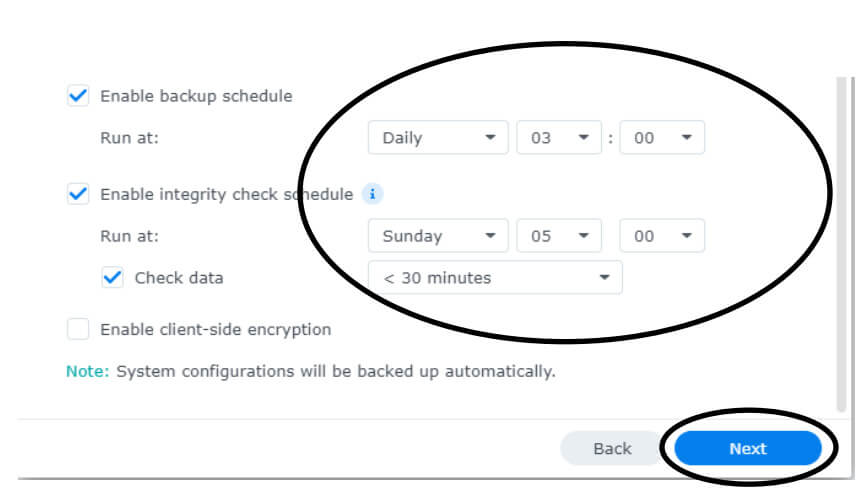
7. Set the Schedule of the backup and click “Next”.
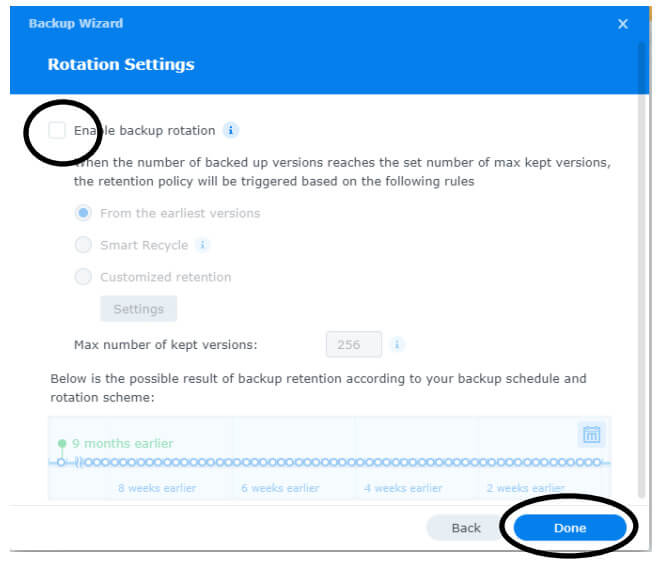
8. Set backup rotation and click “Done”.
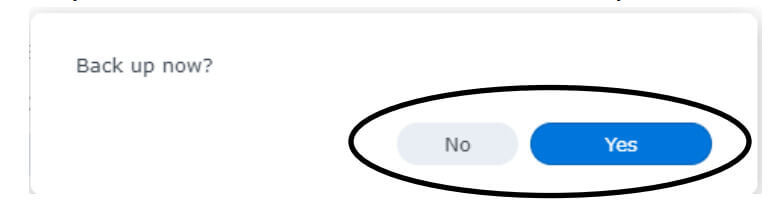
9. Choose “Yes” or “No” for backup now
10. Backup will start.
11. If there is a need to change the settings, click here to edit the settings.
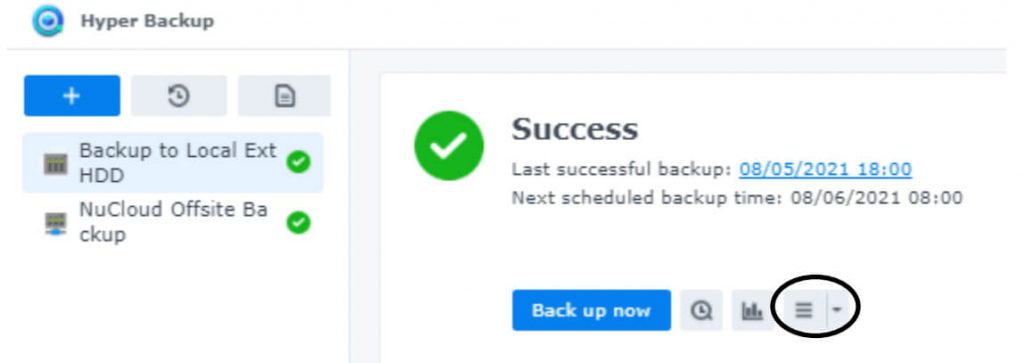
Restoring files via Hyper Backup
1. Go to Hyper Backup
2. Open “Backup Explorer”
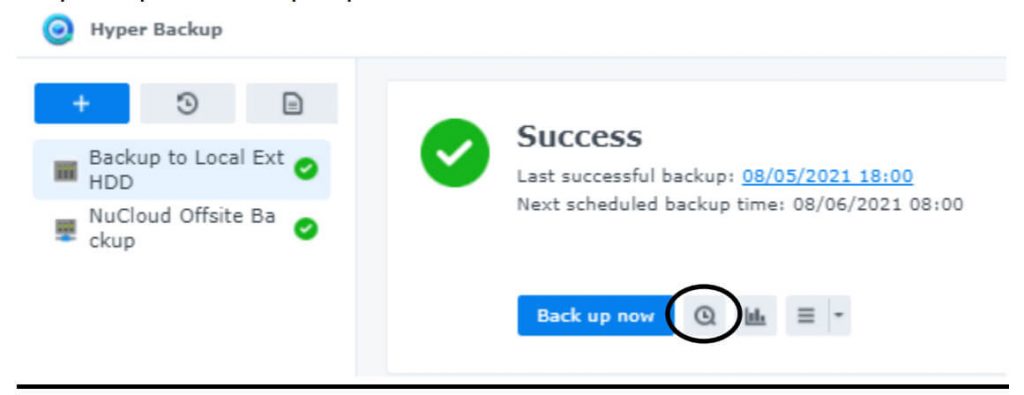
3. The date and time of the backup will be shown. The arrows can be clicked to show the different timeline backups (if there are multiple)

4. Right-click on the file and click “Restore” or “Download”.
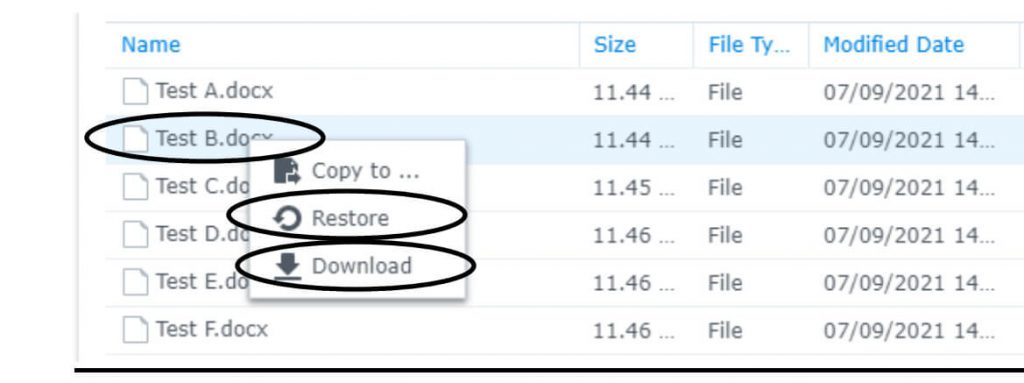
5. The Backup Explorer is a place to restore deleted or missing files after the backup task is completed.
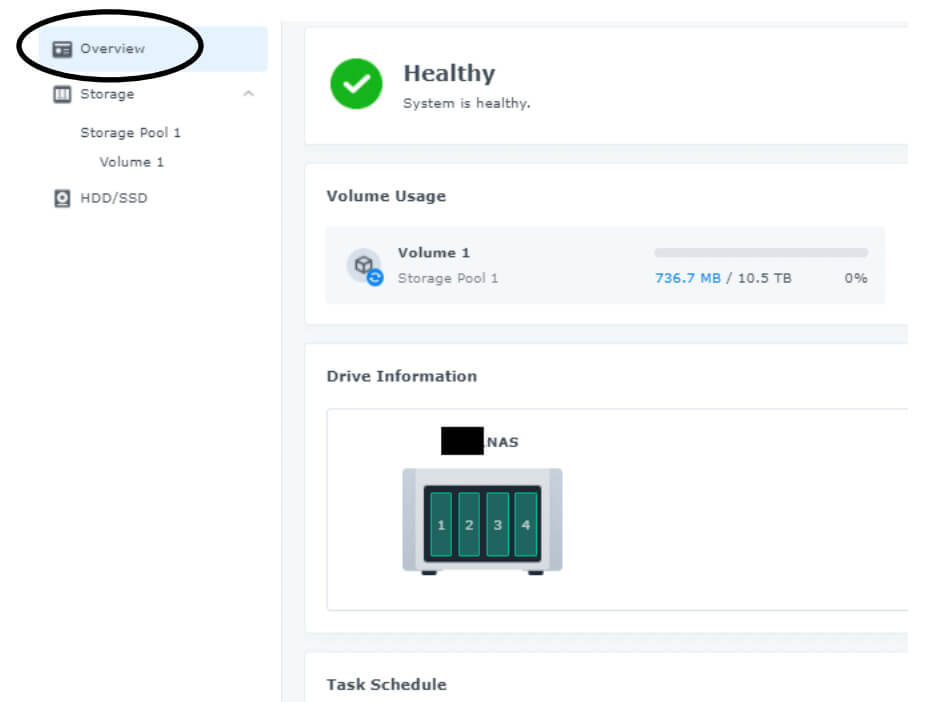
Monitoring Health of NAS
1. Navigate to Main Menu

2. Go to Storage Manager
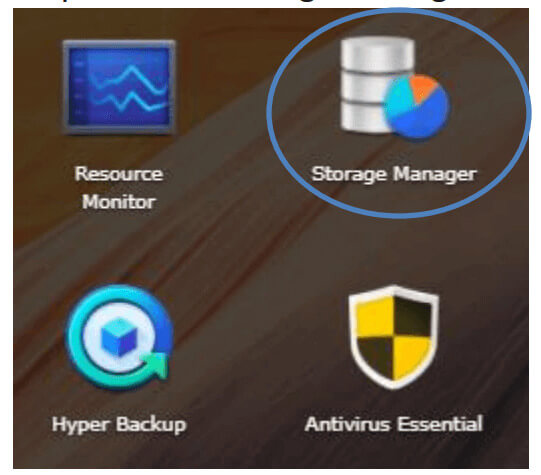
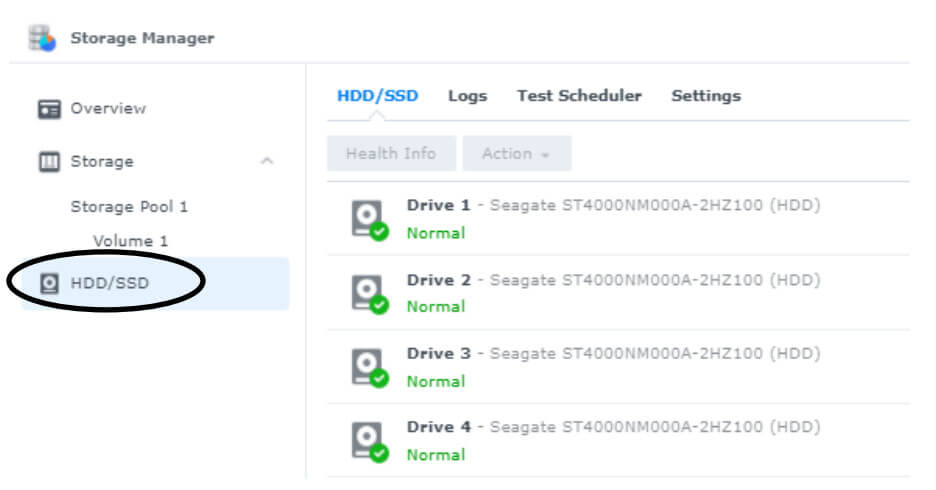
3. Go to “Overview” and “HDD/SSD”
Over here, you will see the overview of the information. (E.g., Drives, Volume, Storage, etc.)
Over here, you will see the health status of the hard drives.
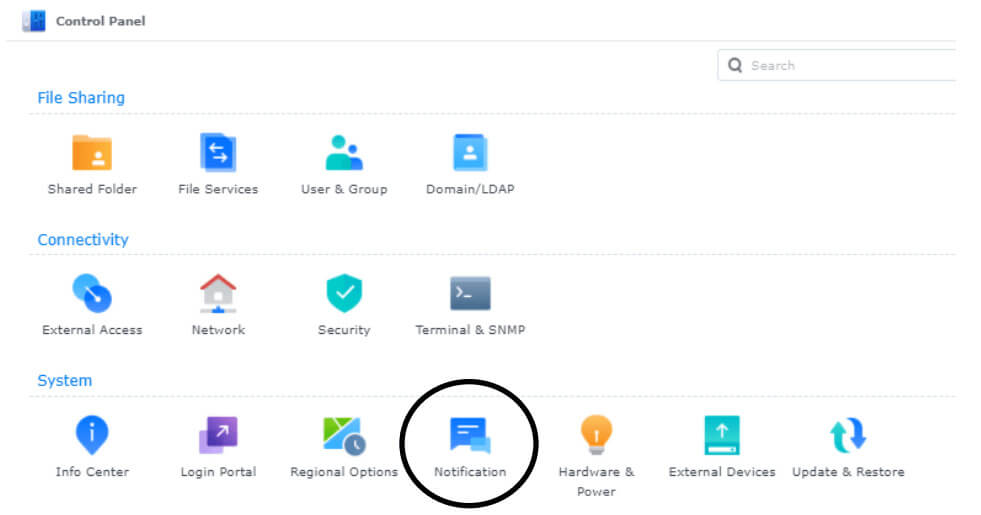
Email Notification
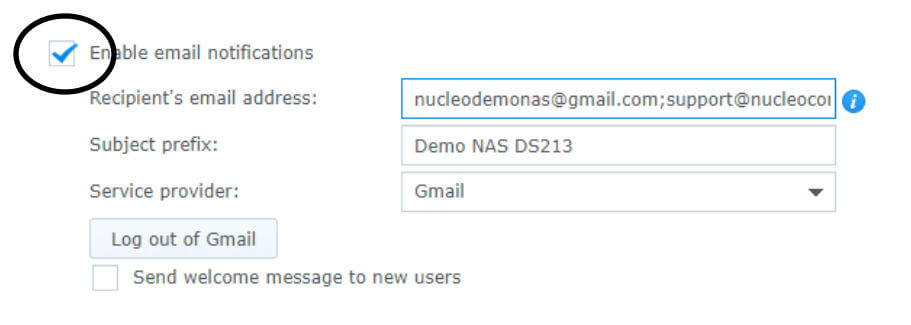
1. Go to Notification.
2. Select “Enable Email Notification” and click “Login” to login to your email.
Another email address can be added after a semicolon.
How to Access Files in the NAS
There are 3 methods to access files in the NAS:
1. File Station
a. It can be used remotely (when you are not in the office) or locally (when you are in the office)
2. Mapping Drive
a. Can only be used locally (when you are in the office & connected to the same internal network as the NAS)
3. Synology Drive
a. It functions something similar to Dropbox.
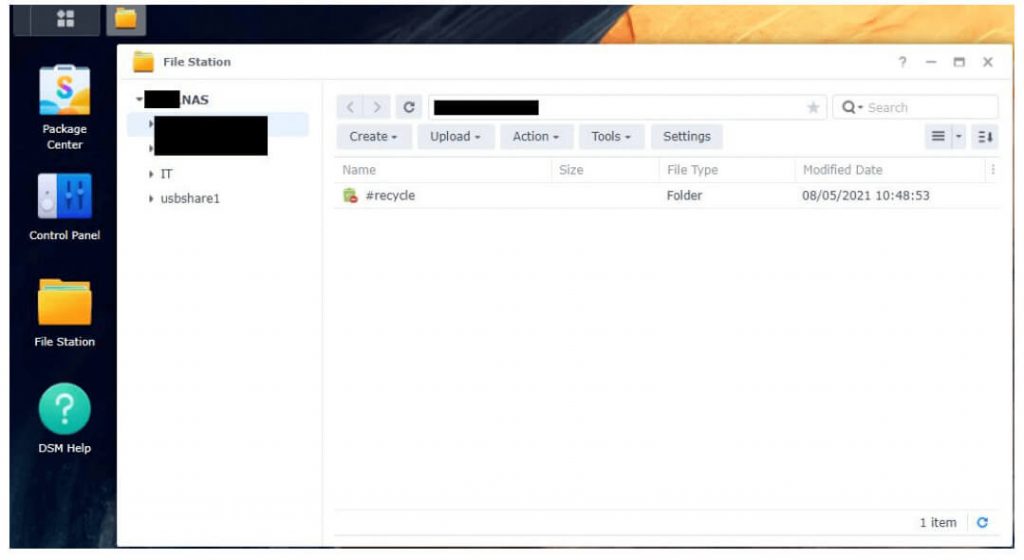
Accessing Files using File Station
1. Go to File Station.
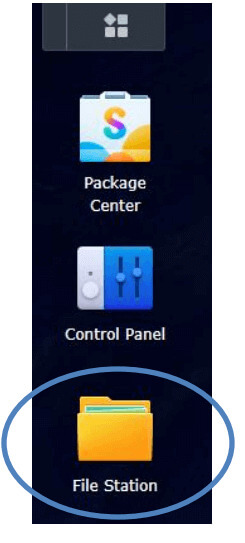
2. The File station is where you can use it to access the files and folders shared with you.
Mapping Drive
1. Navigate to File Explorer and click on “This PC”.
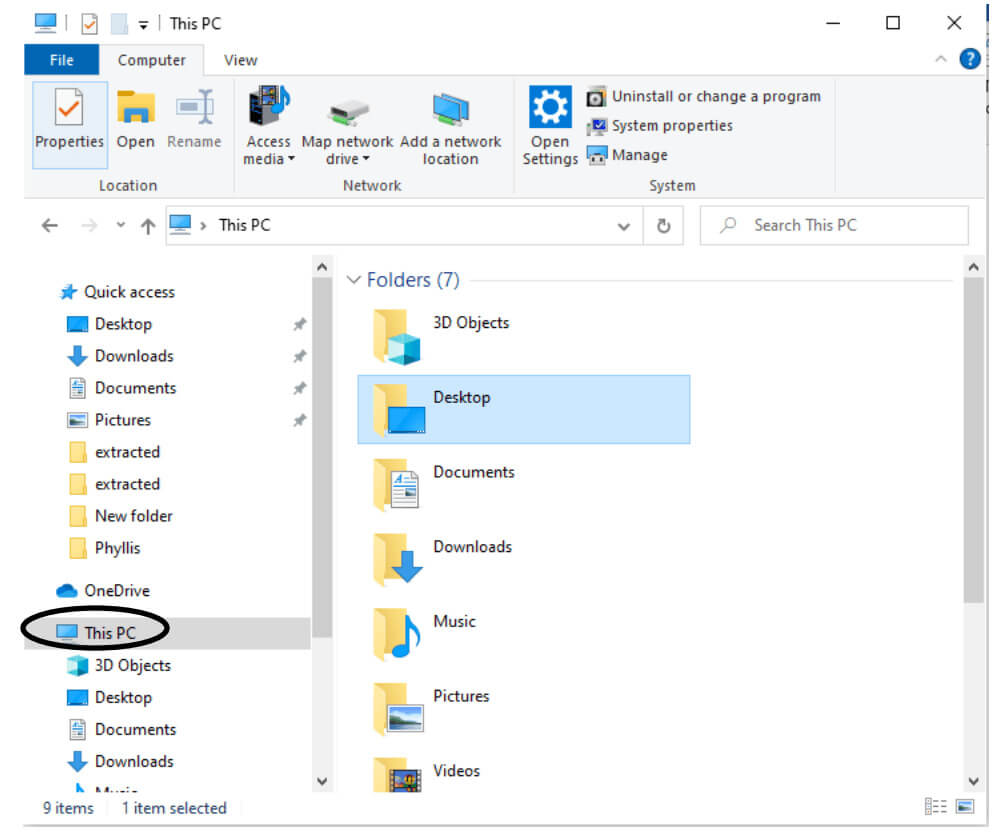
2. Click on “Map Network Drive”.
(It is located under “Computer”)

3. Select the drive you want to map using the dropdown and click “Browse”.
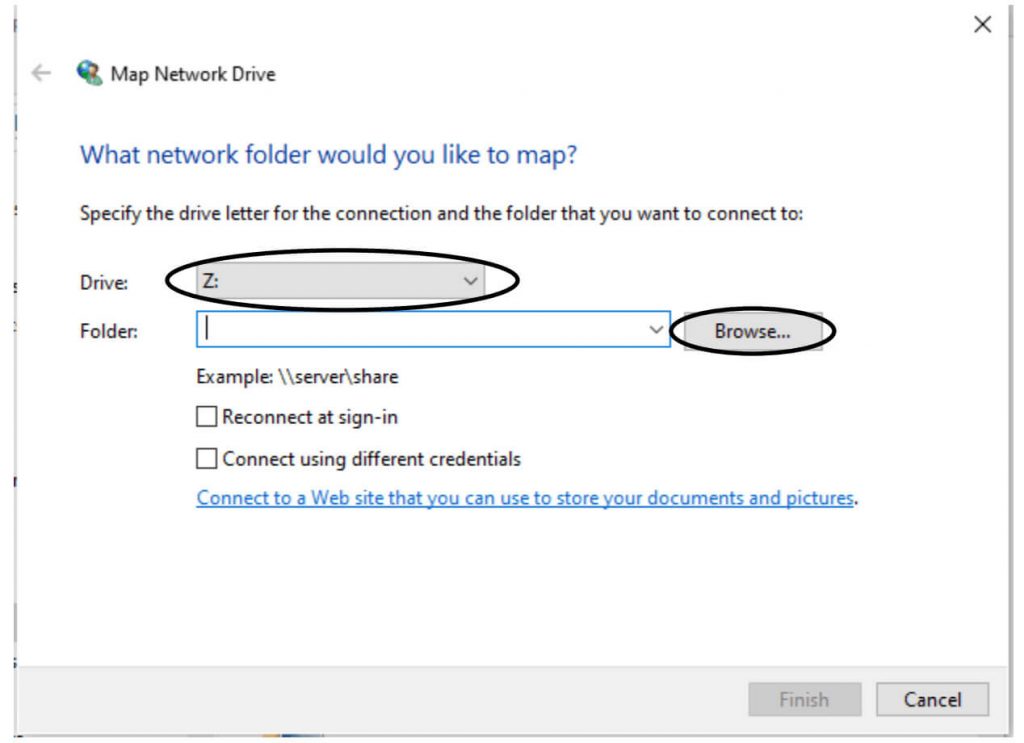
Go to network and find the location (either through Hostname or IP address) provided by your IT admin.
4. After clicking browse, Choose the network folder and click “OK”.
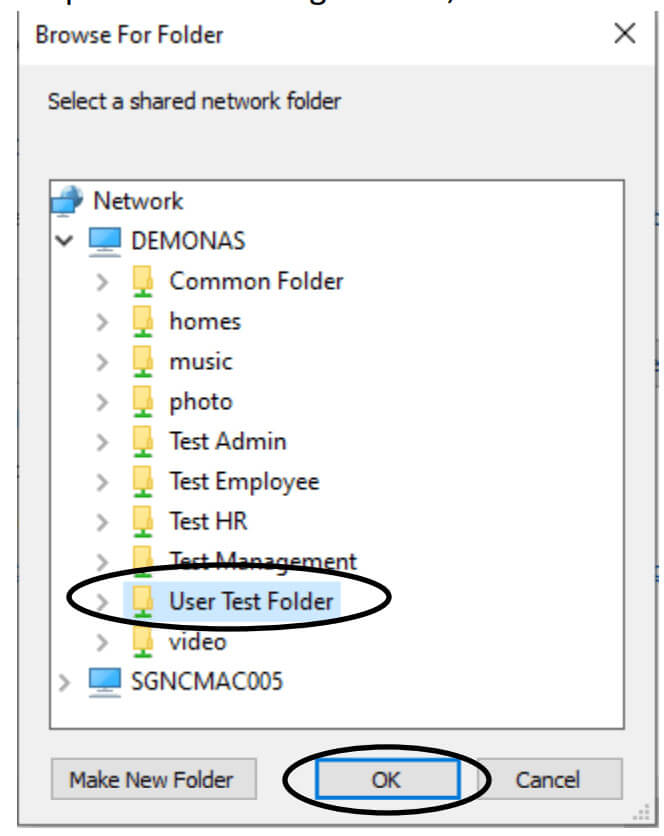
5. Ensure the folder is correct and click “Finish”

If you encounter an error message, please follow the steps below to turn on network discovery:
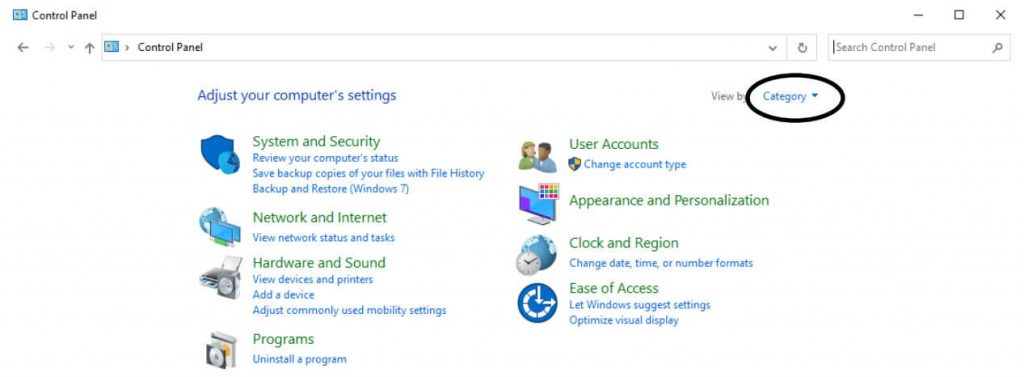
1. Click Start/Windows key and search for “Control Panel”

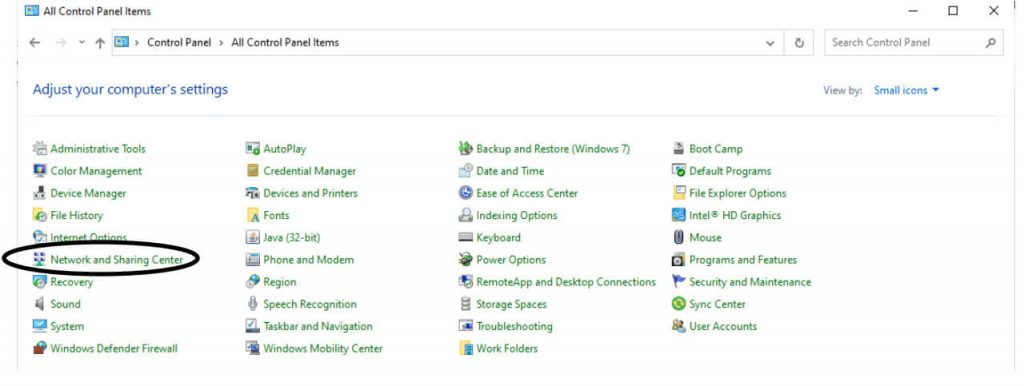
2. Click the dropdown to sort by “Small Icons”
3. Click “Network and Sharing Center”
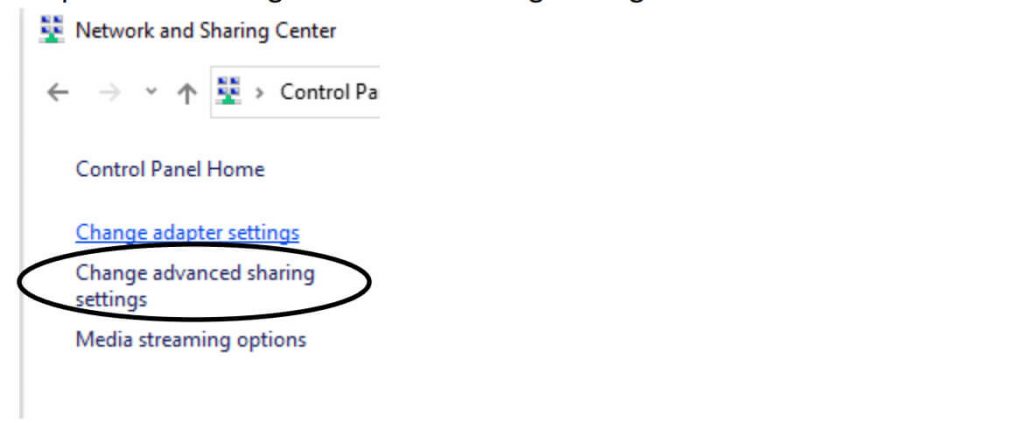
4. Click “Change Advanced Sharing Settings” located at the left-hand side.
5. Click “Turn on” for network discovery and click “Save changes”
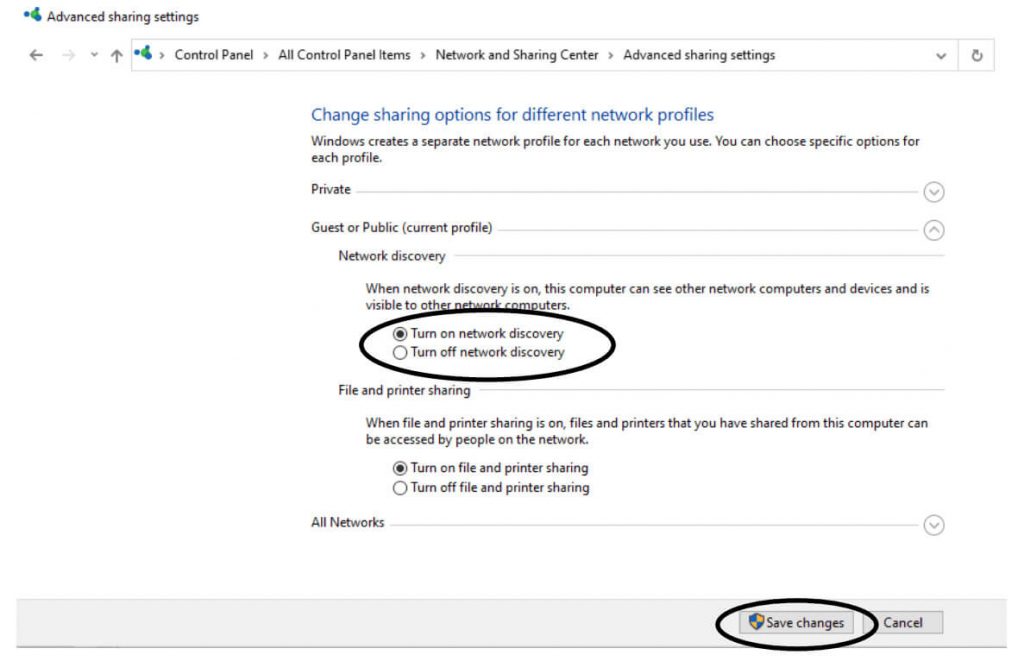
After turning on “Network Discovery”, Repeat the steps above for mapping drive.
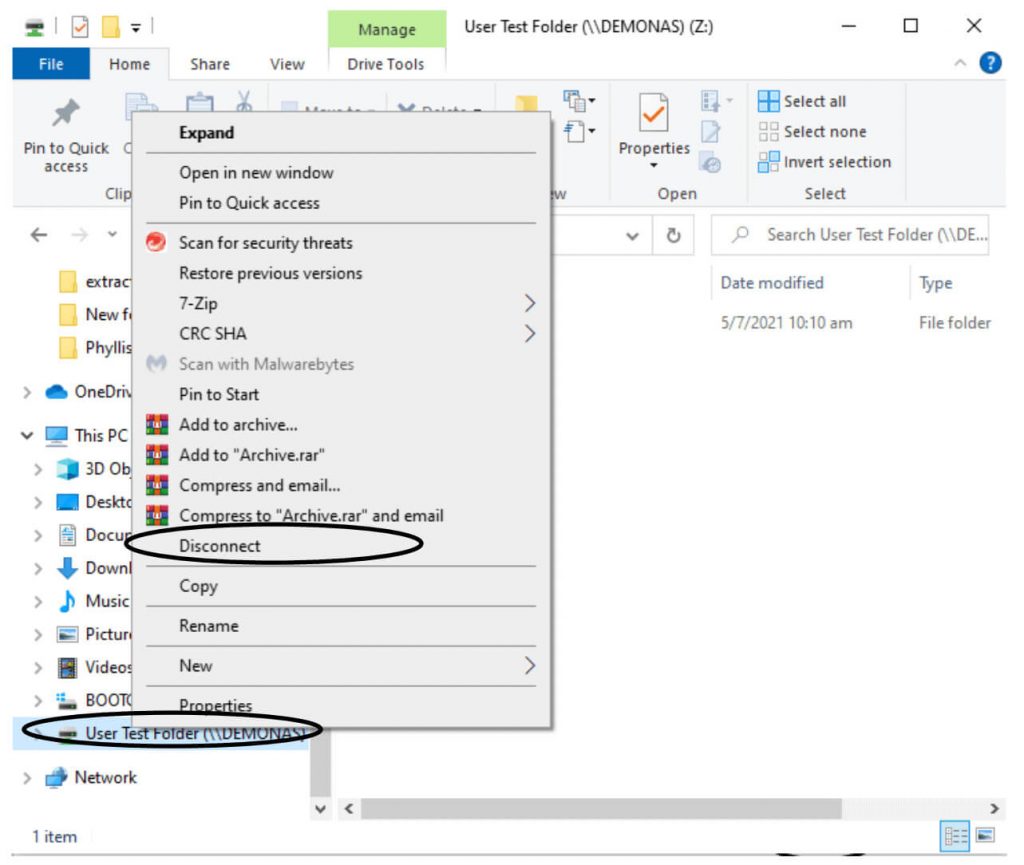
Disconnecting Mapping Drive
1. To disconnect the drive, right-click on it and select “Disconnect”.
Synology Drive
For computers with Mac OS and Windows 7 or older, the files synced to your computer which will take up space when using On-demand Sync.
For windows 10 computers, the files synced to your computer will not take up space when using On-demand Sync.
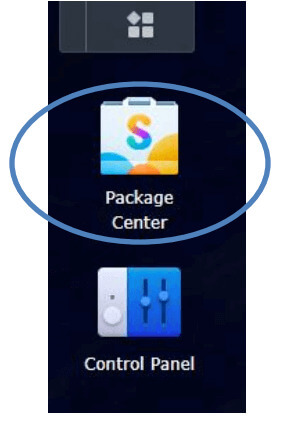
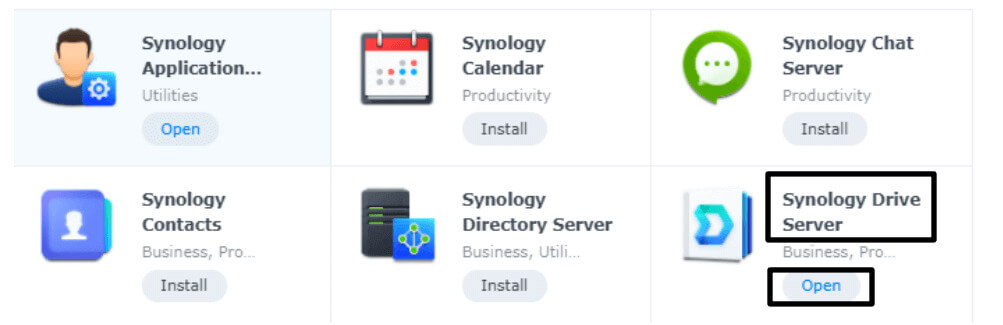
1. Go to Package Center.
2. Go to “All Packages” and search for “Synology”.
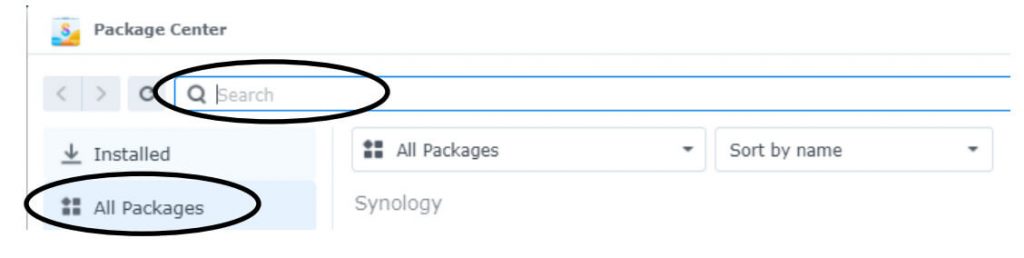
3. Click “Install” or “Open” for Synology Drive Server.
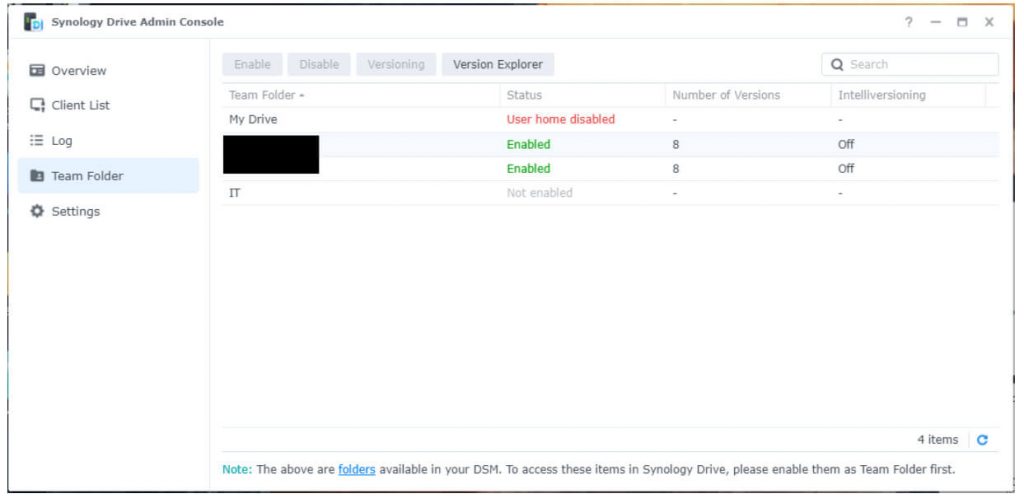
4. Administrators can use the Synology Drive admin console to enable the folders to access using the Synology Drive
Synology Drive in User Computer
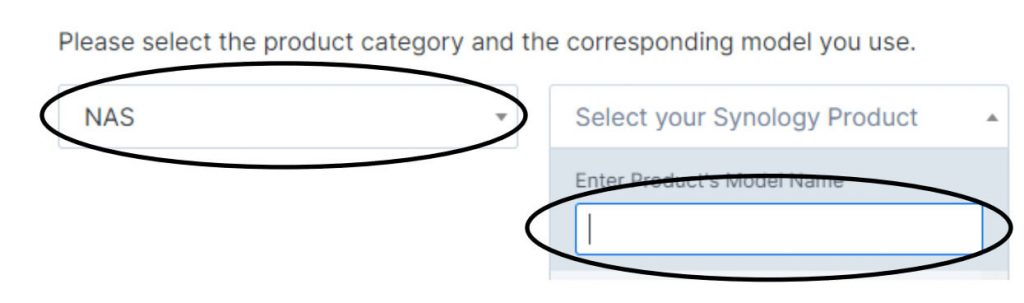
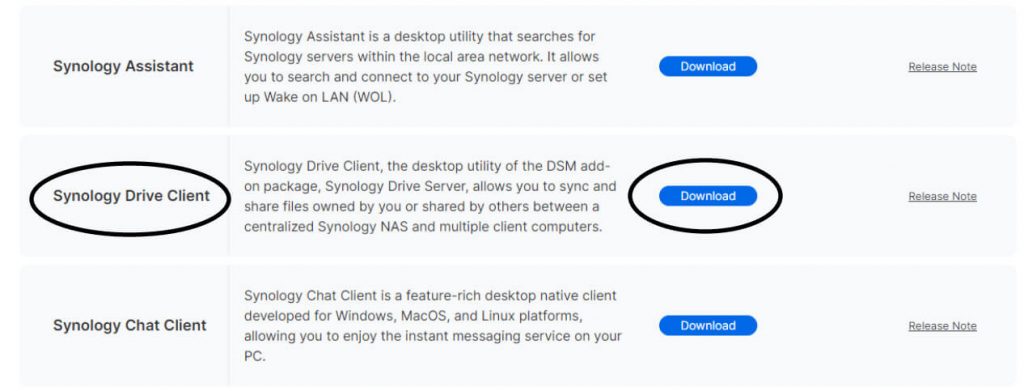
1. Visit the website to download at:
https://www.synology.com/en-global/support/download
2. Dropdown the product type to “NAS” and type in your NAS Model.
3. Go to “Desktop Utilities”.
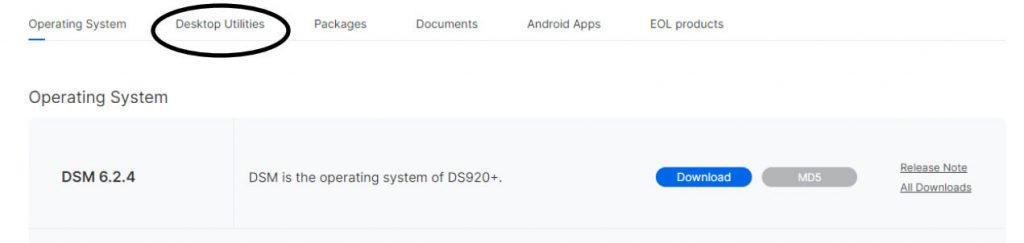
4. Click download for Synology Drive Client.
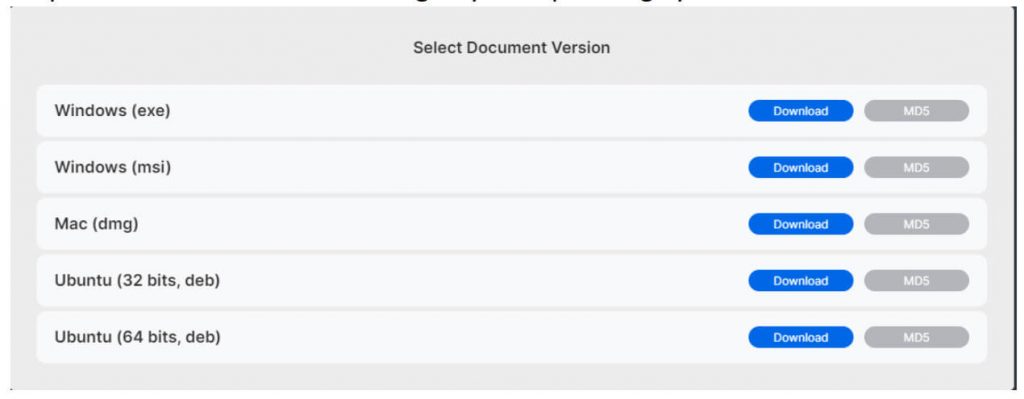
5. Click download according to your Operating System.
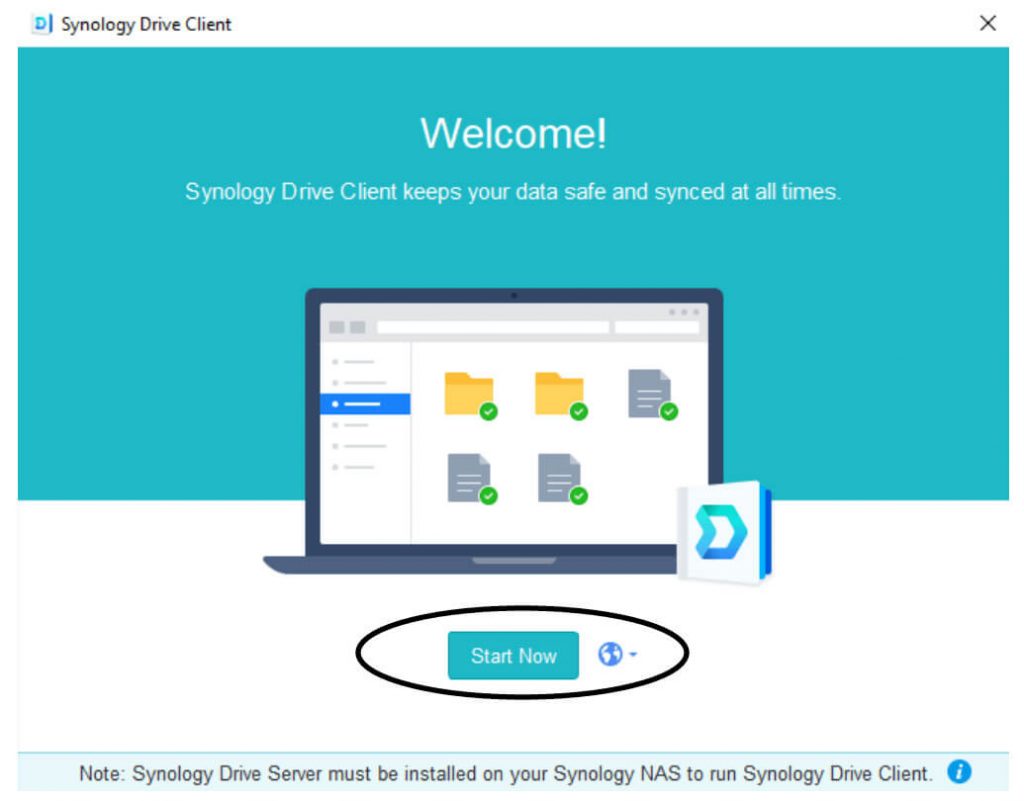
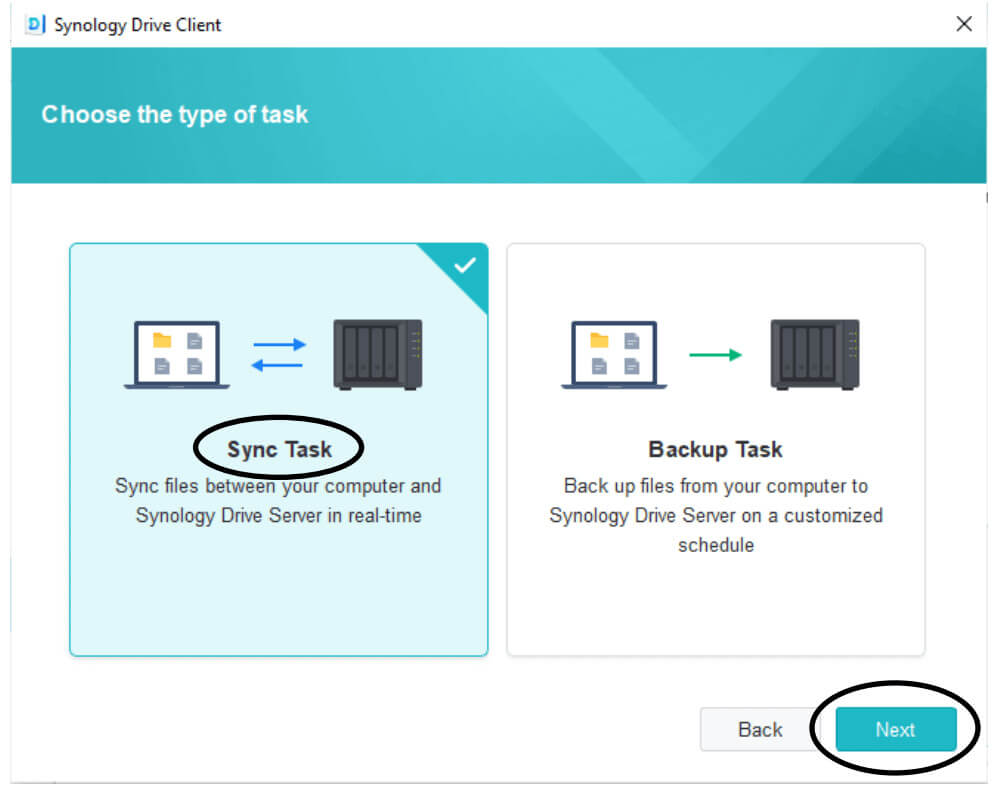
6. Launch Synology Drive Client and click “Start Now”.
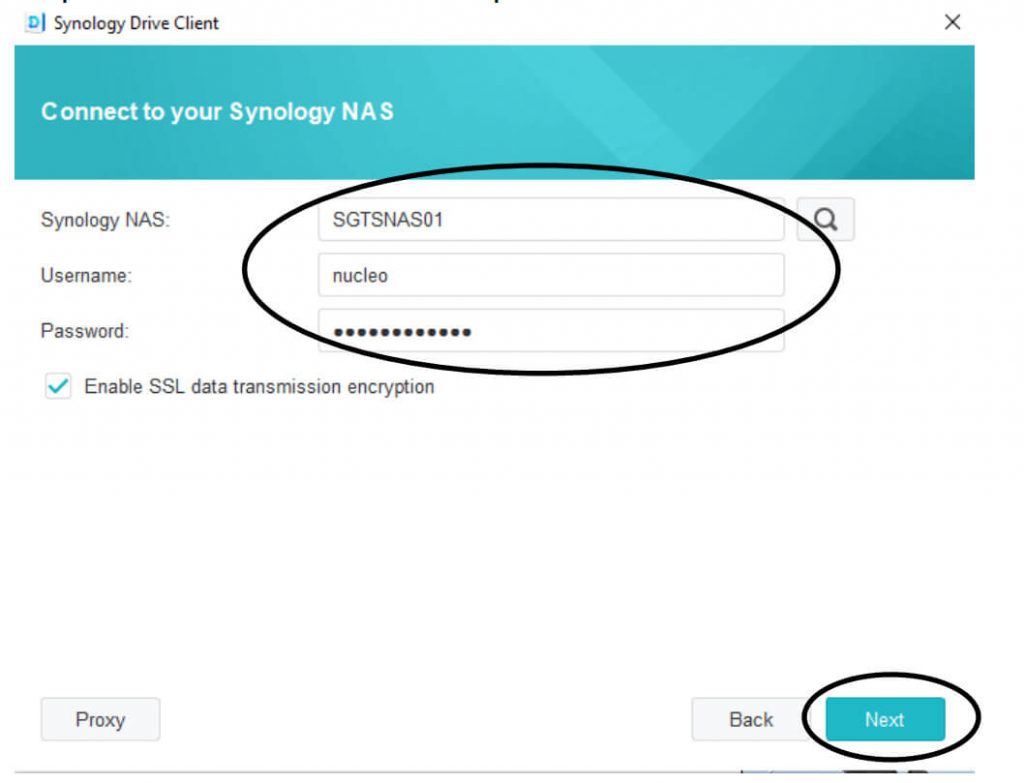
7. Enter the information required and click “Next”.
8. Select “Sync Task” and click “Next”.
9. Select the folder to sync and click “Done”.
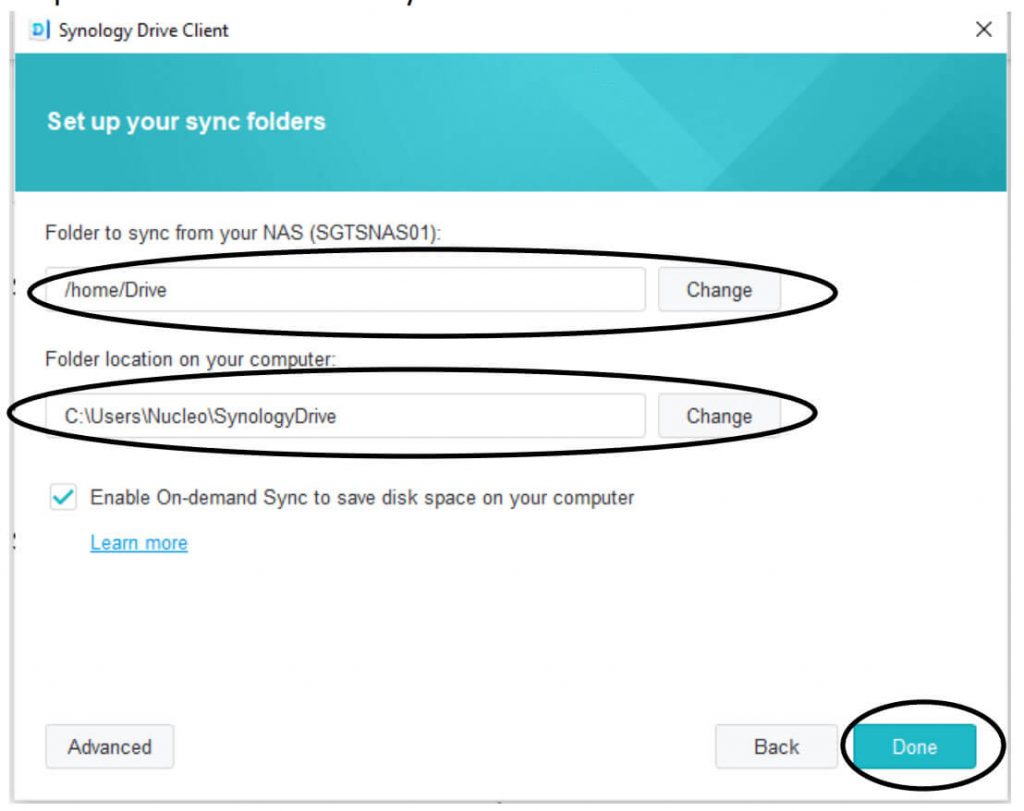
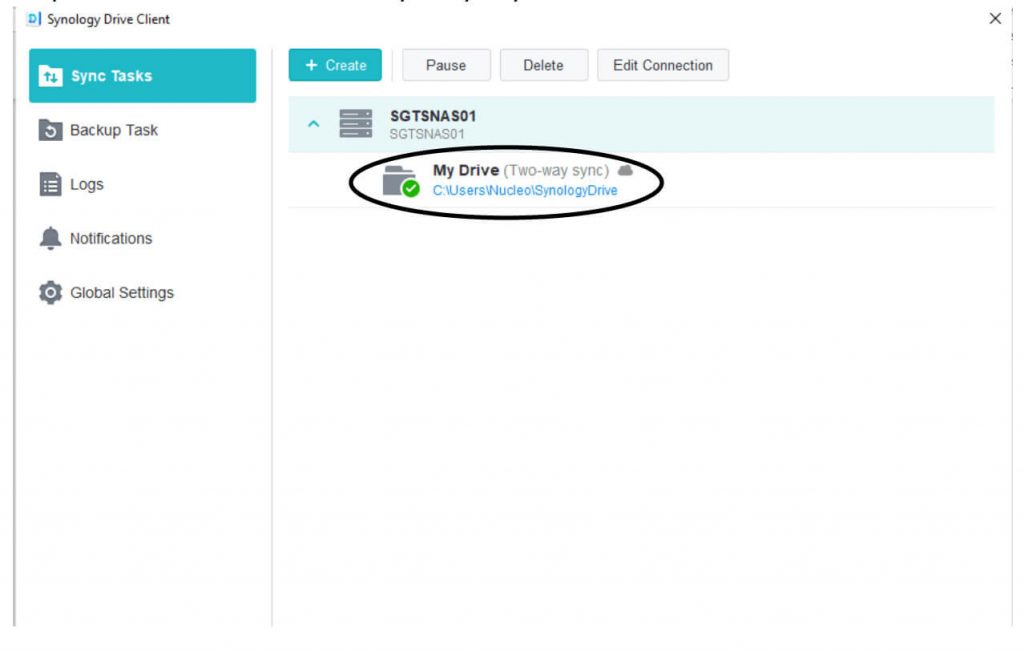
10. Make sure the directory to sync your files is correct.
Changing of Password for User
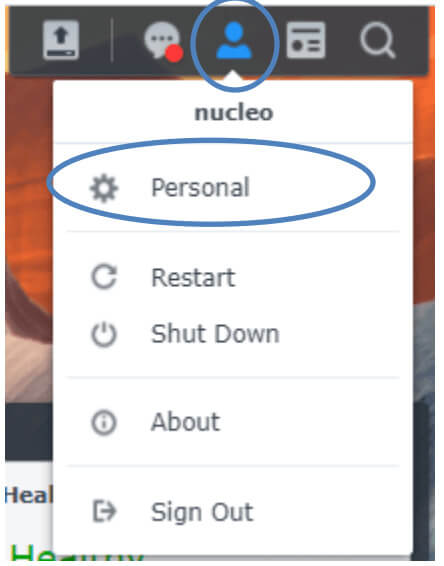
1. Go to top-right hand corner and click on this icon and go to “Personal”
2. Click on “Change Password”
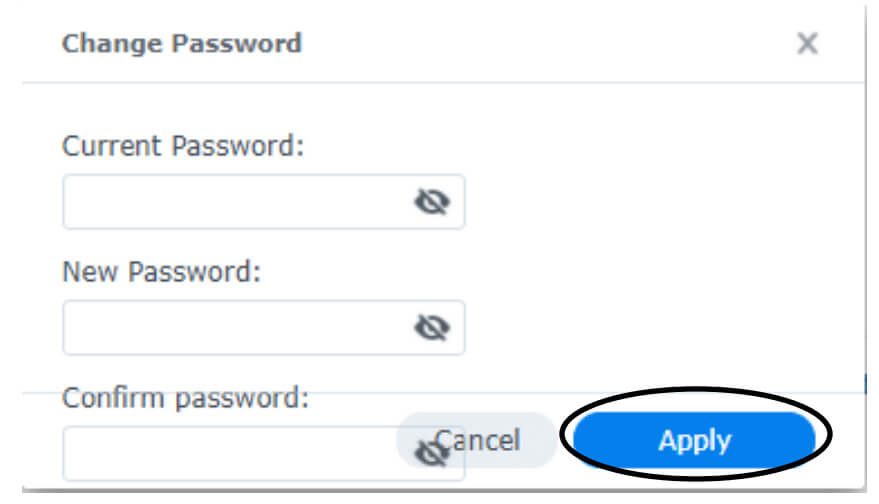
3. Enter the old, new, and confirmed password and click “Apply”
Administrator Resetting Password
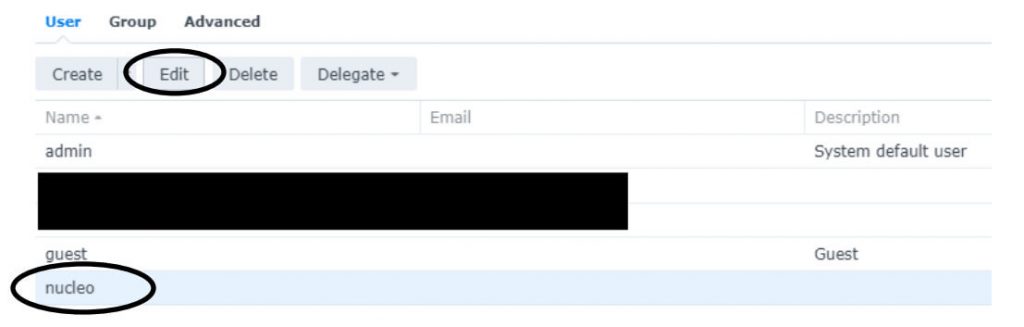
1. Go to User & Group.
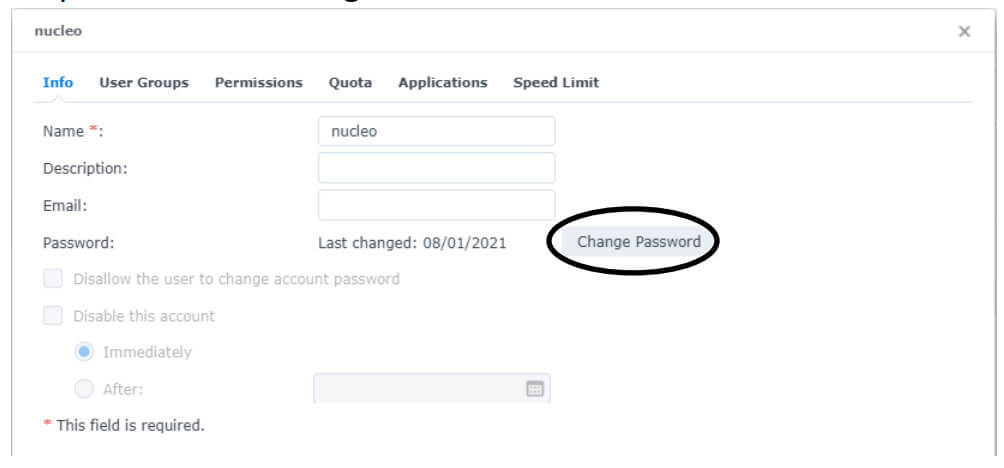
2. Select the user and click “Edit”.
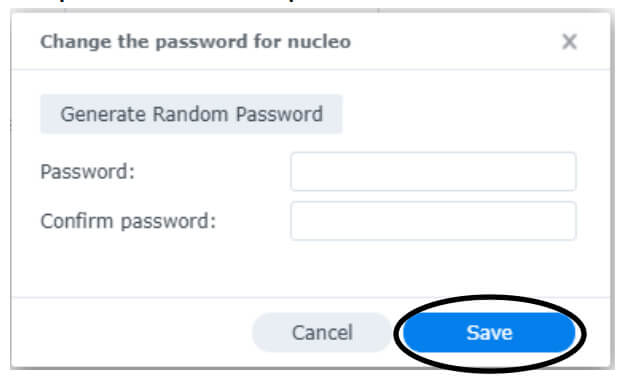
3. Click on “Change Password”.
4. Enter new password and confirmed password and click “Save”
Reset Password with Email
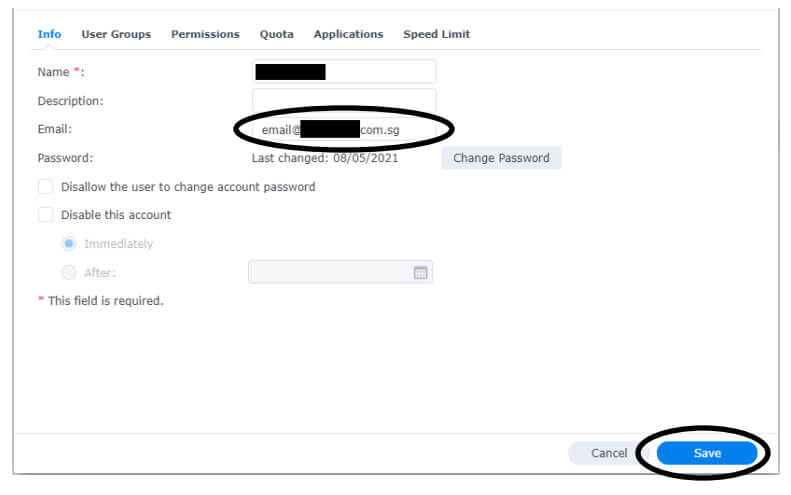
*This is a prerequisite step for resetting password via email to work.
5. Ensure that there is an email address entered in the user account and click “Save”.
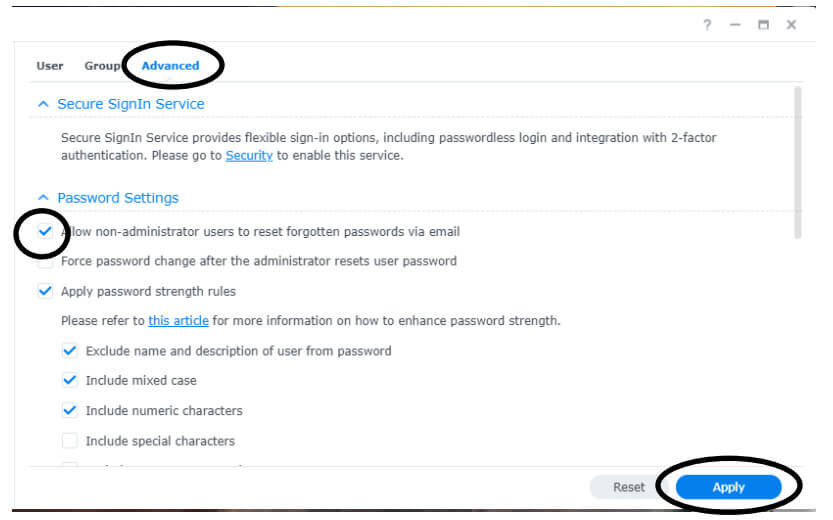
6. Go to “Advanced” and ensure “Allow non-administrator users to reset passwords via email” is checked and click “Apply”.
Forget Password
1. Click on “Forgot your password?”.
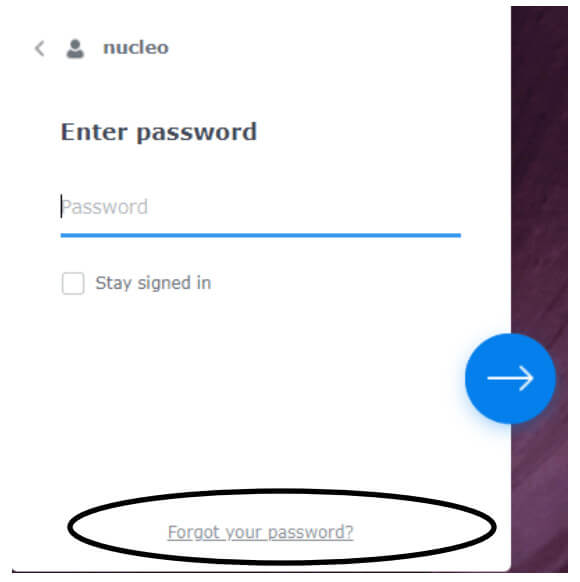
2. Enter your username.
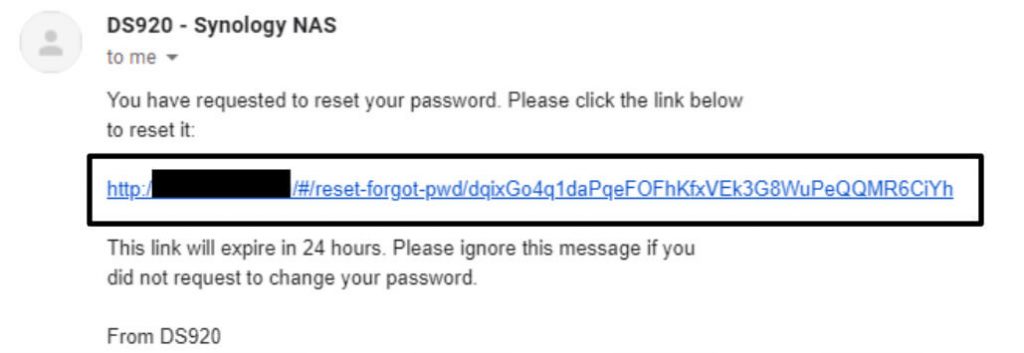
3. Check your email inbox for password reset link.
(If it does not appear, check “Spam” inbox)

4. Click on the link.
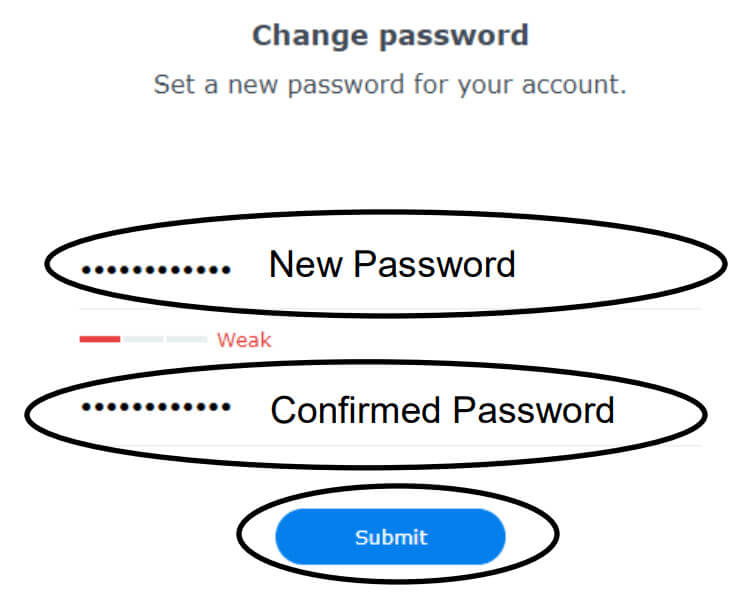
5. Key in new password and confirmed password and Click “Submit”
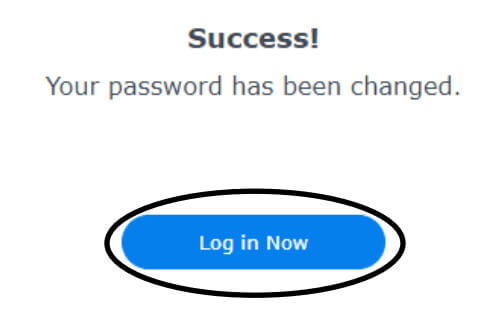
7. Congrats! Now you have changed your password and click “Login Now”.
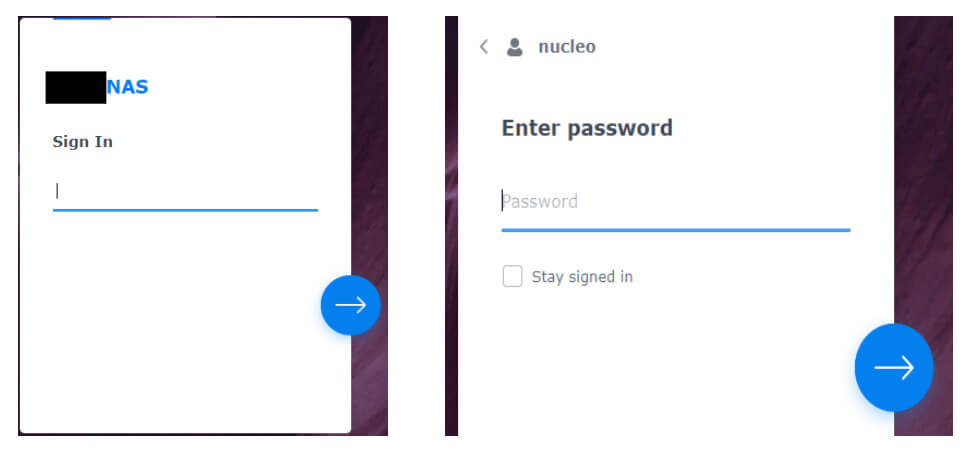
8. Login with the username and the new password.
Nucleo Consulting Pte Ltd
OC: 201214085K
1 Claymore Drive #02-03 Singapore 229594
Support: +65 6911 0533 (Option 1) / Office: +65 6911 0533 (Option 2)
Admin | Network Attached Storage | Synology