Prerequisite for setting the Synology Drive ShareSync
- 2 Synology NAS (NAS-A & NAS-B)
- Choose NAS-A as the primary NAS to create and host the folder backbone.
- Creating a user account with admin right in NAS A for sync connection between the 2 NAS
- Quickconnect must be already setup in NAS-A
- Download Synology Drive in both NAS
Enable Folder Sync in NAS-A
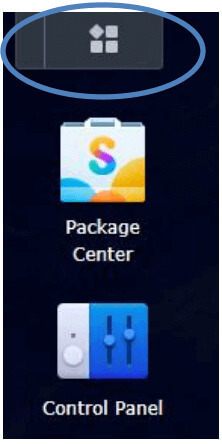
- Once logged into “NAS-A”, click on this icon to go to dashboard.
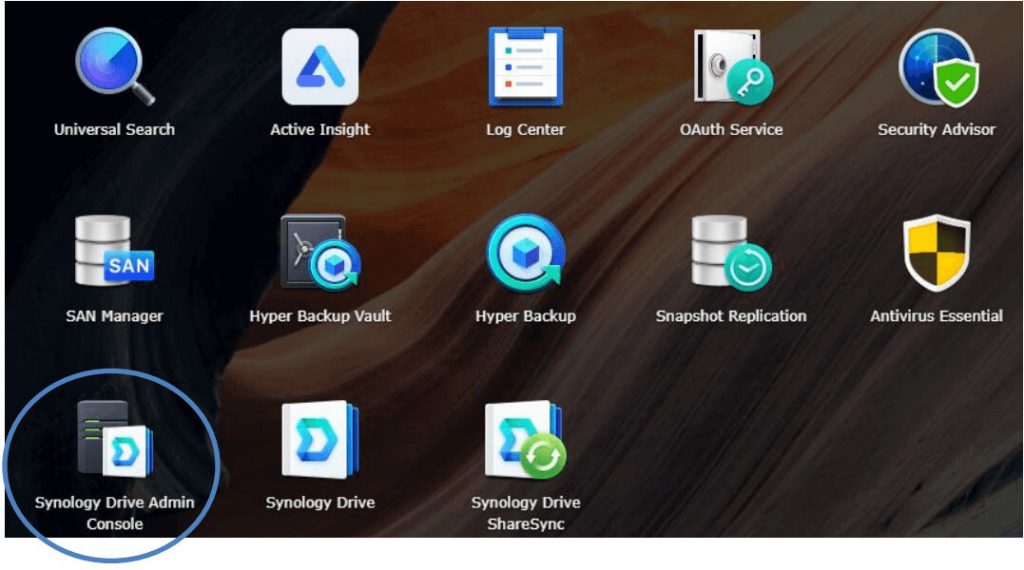
2. Click on “Synology Drive Admin Console”.
3. Click on the “Team Folder” tab found on the left-hand side.

4. Navigate to the folder that you want to sync and click on “Enable”.

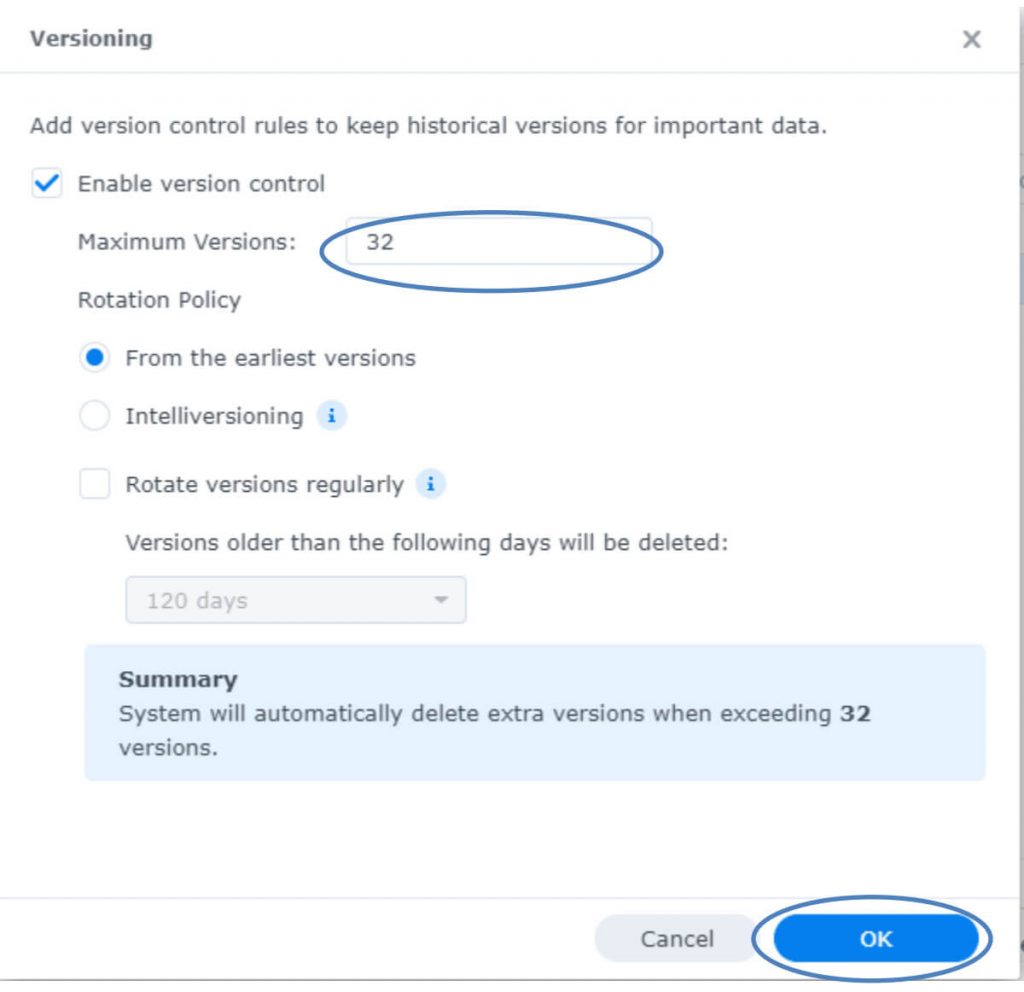
5. Enter the number version to keep and click “OK”. (Note that the maximum number of version allow to keep is 32)
Syncing NAS-A to NAS-B
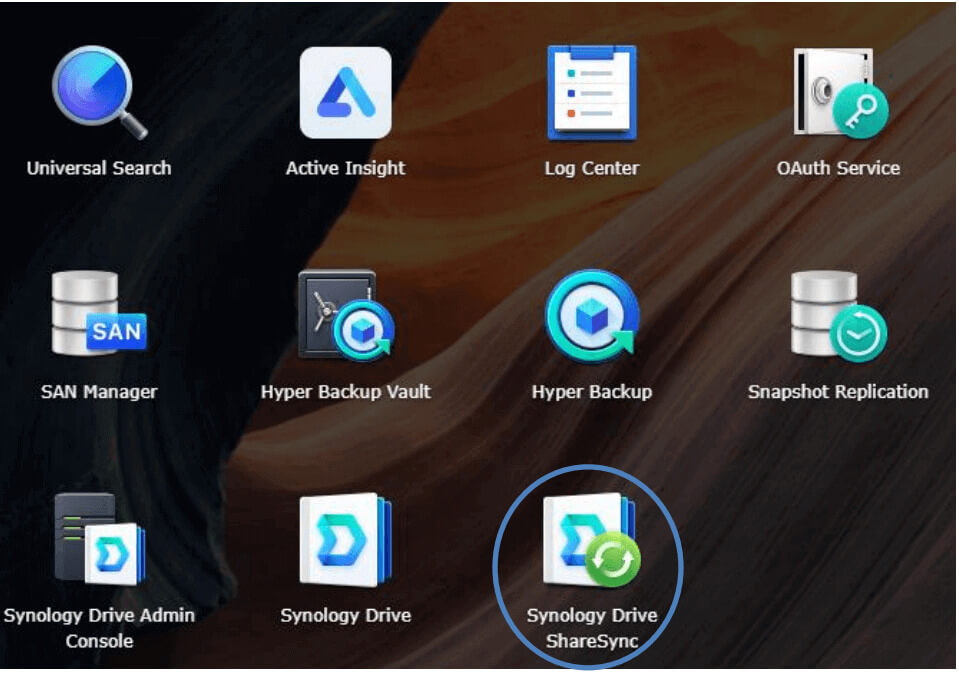
- Once logged into “NAS-B”, click on this icon to navigate to the main menu

2. Click on “Synology Drive Share Sync”.
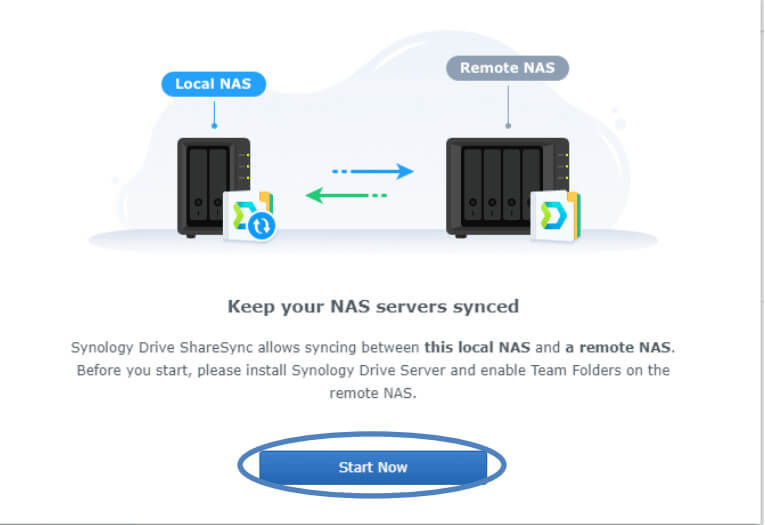
3. Click on “Start Now”
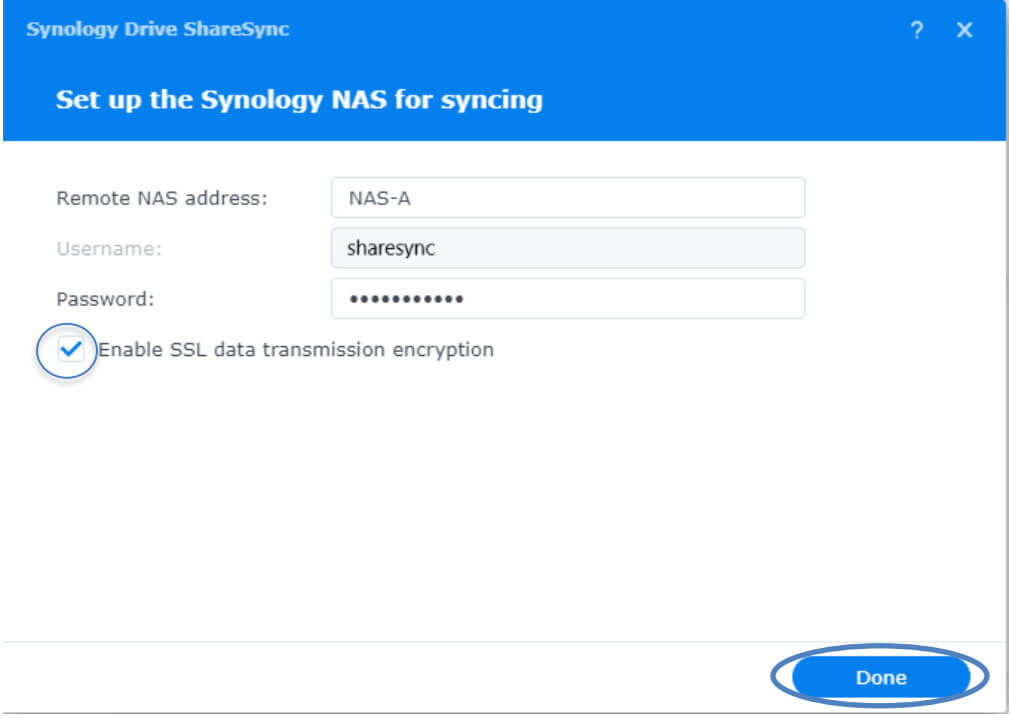
4. Enter the Quickconnect ID of NAS-A and user account created in NAS-A for the sync connection. Please ensure that “Enable SSL data transmission encryption” is checked and click “Done”
5. Select the specific folder to sync

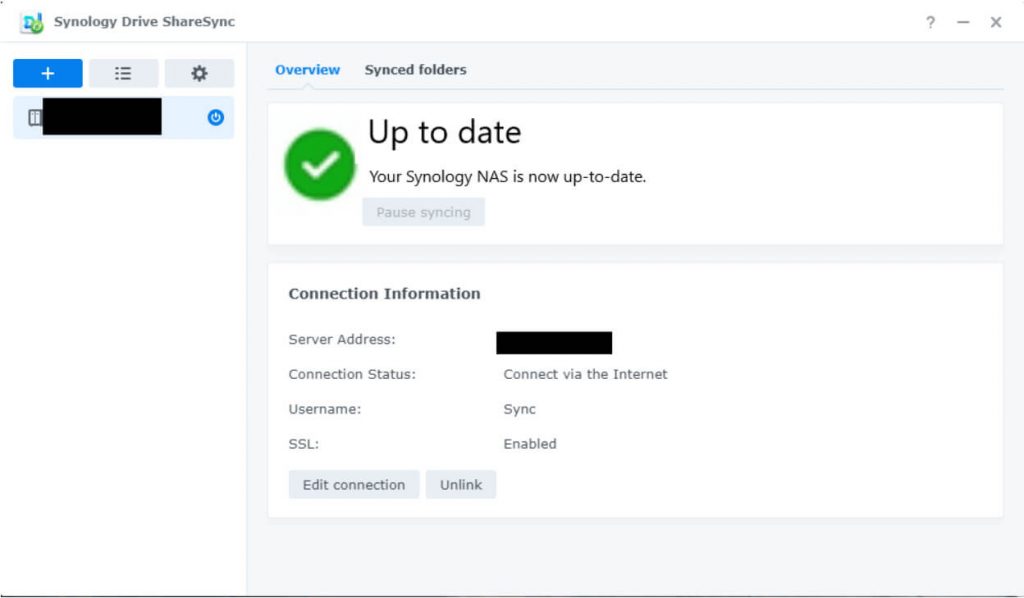
6. Once the sync is completed, you should be able to see this.
7. Grant users the permission to access the synced folders in NAS-B.
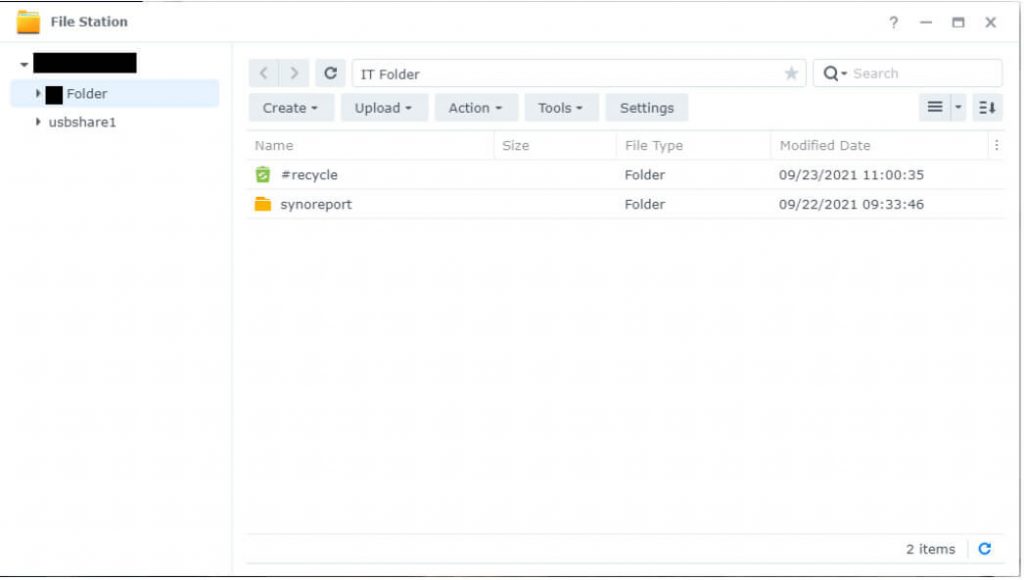
8. Open File Station to verify that all the data had been synced between two NAS.
NAS-A:
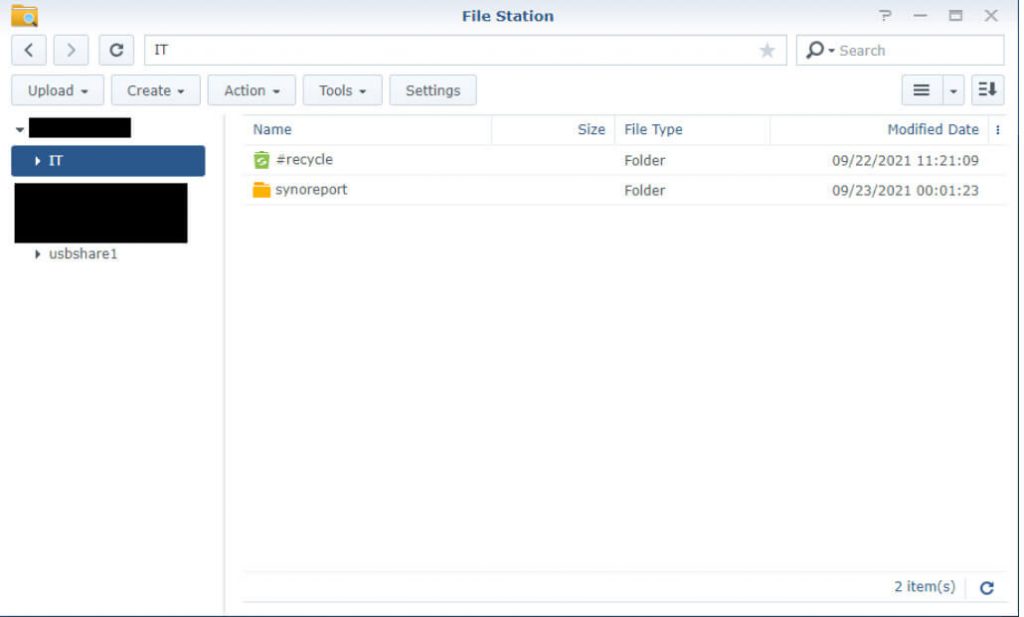
NAS B:
Nucleo Consulting Pte Ltd
ROC: 201214085K
1 Claymore Drive #02-03 Singapore 229594
Support: +65 6911 0533 (Option 1) / Office: +65 6911 0533 (Option 2)