A Network Attached Server (NAS) is a cost-effective way to expand your storage in the office. As with any device that can be connected to the Internet, a NAS runs a real risk of being compromised and having sensitive data exposed to hackers. Therefore, taking these extra steps to secure your NAS makes it more difficult for hackers to gain unauthorised access to your data.

1. Update your operating system
The more outdated your operating system is, the more vulnerable it is to cyber attacks. This is because support may not be available for older versions. That is why it is essential to perform regular scheduled software and operating system updates to improve the security of your computer.
2. Have a reputable security suite installed
Installing antivirus software or using firewall-as-a-service can help you detect malicious threats, giving you an extra form of protection. With sandboxing, even Zero Day Threats that are new and never seen before, will not pose a threat.
3. Avoid opening files of unknown origin
Always keep up your guard before opening email attachments from unknown sources. A tip is to look for suspicious files with hidden file-extensions such as “.pdf.exe”. An easier way is to opt for our Anti-Phishing Email Security that clears out suspicious emails, allowing only legitimate emails to be sent to your inbox.
4. Disable remote access
Malware often targets computers using RDP (Remote Desktop Protocol). Keep RDP disabled if you do not require remote access. To ensure the security of your Synology NAS, open public ports for the needed services on the router.
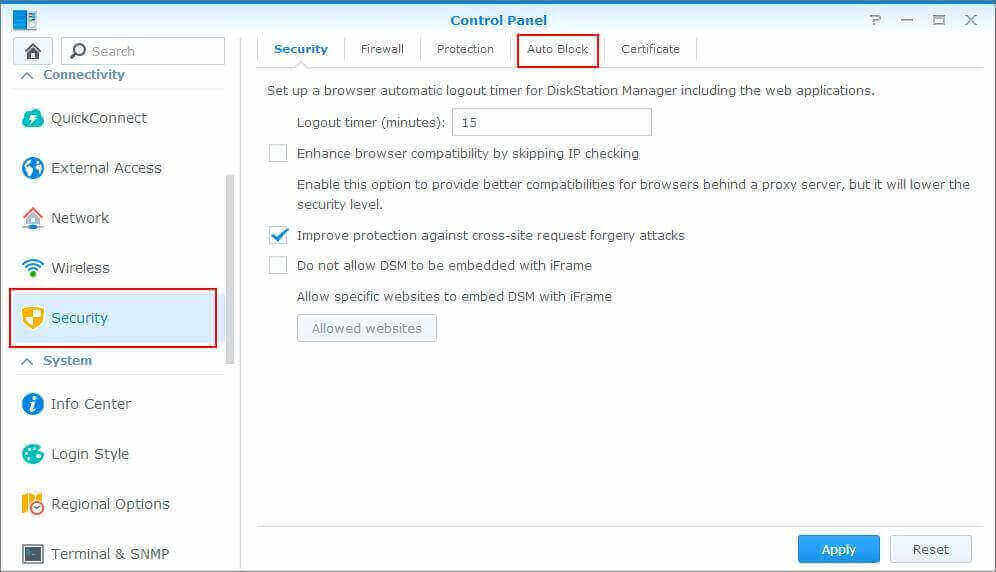
5. Enable Auto-Block
Auto-block is a feature that blocks IP addresses of clients with too many failed login attempts, reducing the risk of accounts being broken into using brute-force attacks. This feature blocks IP addresses that exceed a certain number of failed login attempts within a certain amount of time and includes all attempts via SRM, SSH, FTP, WebDAV, File Station, Download Station, VPN Server, and Synology mobile apps.
How to enable auto-block:
- Go to Network Center > Security > Auto Block.
- Check Enable auto block.
- Enter a number of failed login attempts in Login attempts and a number of minutes in Within (minutes). If you want to automatically remove a blocked IP address after a certain number of days, check Enable block expiration and enter a number in Unblock after (days).
- Click Apply to save your changes.
6. Implement password rules
Passwords are the key to your system. Some tips include setting password expiration for all users, forcing them to change their passwords regularly. Most organisations have passwords that are easy to decipher for the convenience of multiple users. This practice should be stopped. Passwords should be complex and strong with a mix of alphanumerical characters and symbols. Apply password strength rules to all users. Lastly, run Security Advisor to make sure there is no weak password in the system.
7. Use Two-Factor Authorisation
To use 2-FA, you will need to install an authenticator app, such as Google Authenticator on your phone. You will need it each time you log into DSM. Enabling 2-Fa greatly reduces the possibility of compromise as it is unlikely that the hacker will have access to both your phone and account at the same time.
Need more tips and tricks on securing your NAS? Talk to us anytime!
